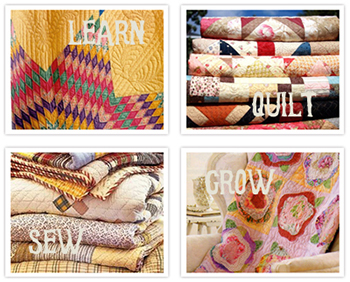
Mother’s Double Dutch Quilt Part 1 of 10
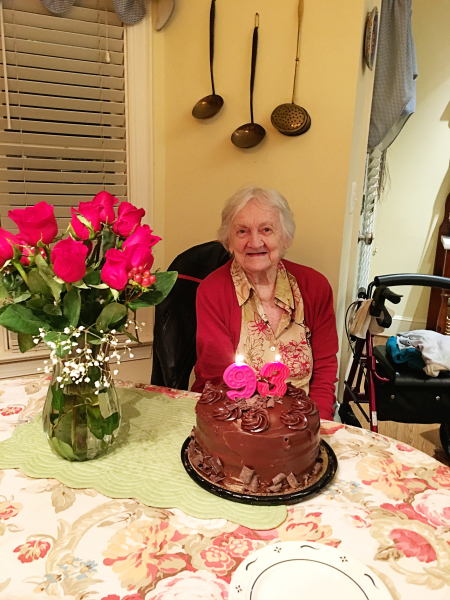
My mother, Mary, just celebrated her 93rd birthday with us here in Weddington, North Carolina. She is doing so well. She has lived with us for nearly 20 years now. Several months ago, though, we thought she would be happier in an assisted living home, and she moved. Unfortunately, she was very unhappy and lost 20 lbs. We were not happy about that and moved her back home. She is happy as a peach, sleeping and eating well too. Home is where she needs to be.
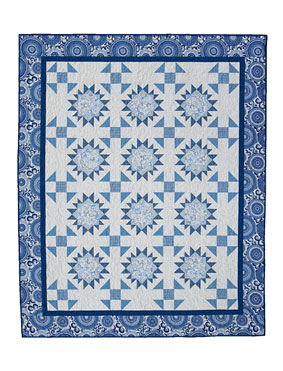
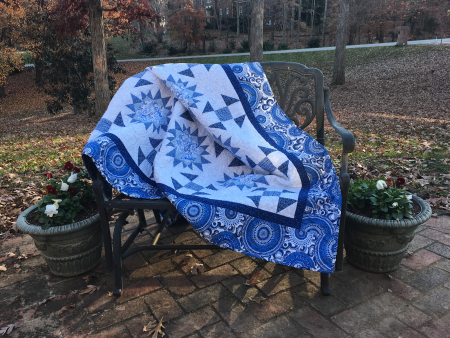
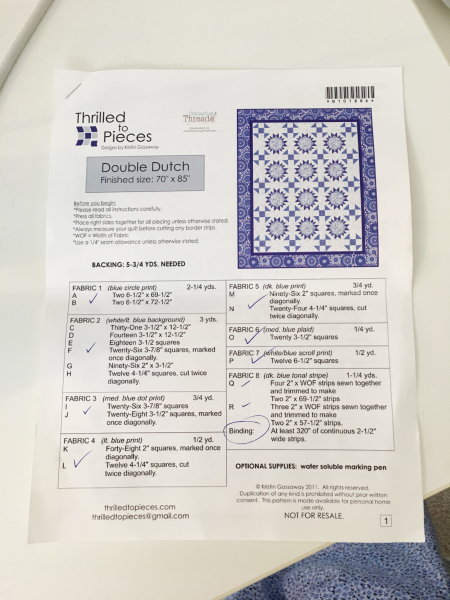
Several years ago, I purchased a quilt pattern and fabric kit from Connectingthreads.com. The quilt is called “Double Dutch” and the fabric included in the kit is from Jenni Calo for Connecting Threads. Her Symphony of Blues collection. Apparently, this collection is no longer in production, sadly, but I’m glad I purchased it when I did.
This is the quilt I am making my mother for a Christmas gift this year. She loves all things blue and white. The finished size is 70″ x 85″
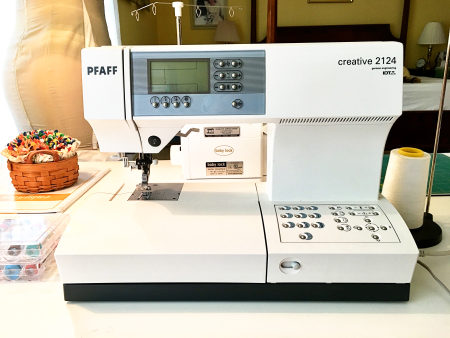
My sewing machine is the Pfaff 2124. My Big Bear purchased this for me 12 years ago when we first moved to North Carolina from Maryland. It is also an embroidery machine. I love my Pfaff.

This is the kit I received from Connecting Threads 3 years ago. It included fabric for the quilt top only, and the instructions for the Double Dutch design. I didn’t realize I was not receiving fabric for the backing or binding, and had to go searching online for one of the fabrics used in the quilt top. Fortunately, I found one and will be using it for the backing.
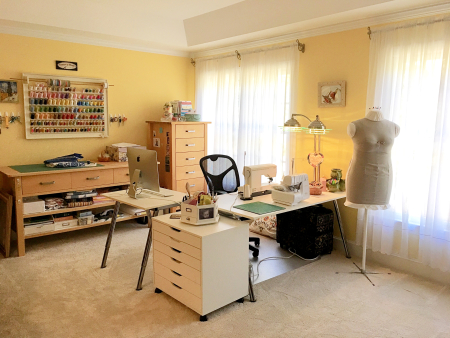
I cleaned and organized my sewing room and I’m ready to start quilting! If my studio is a mess, I just don’t feel motivated to start sewing or working on anything. Fresh projects require a freshly cleaned studio for me.
The first step is to read all the instructions. I try to visualize the process while reading the instructions and that makes it easier to construct the quilt and not make mistakes. I also do this step when sewing and making clothes.
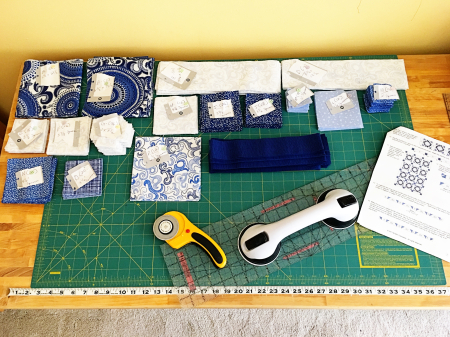
When I am ready to begin, I prepare my rotary cutter with a new blade, and place my suction handle on my clear Olfa Ruler. The suction handle makes for less slipping during cutting. I have also glued thin strips of sand paper to the wrong side of the ruler so that it doesn’t slip on the fabric.
Next step is to cut out all the pieces. Before I cut into the fabric, though, I iron the fabric. The folds will mess up your cut if not pressed. Follow the instructions. Measure twice … Cut once.
Lie out all the pieces you cut and label them.
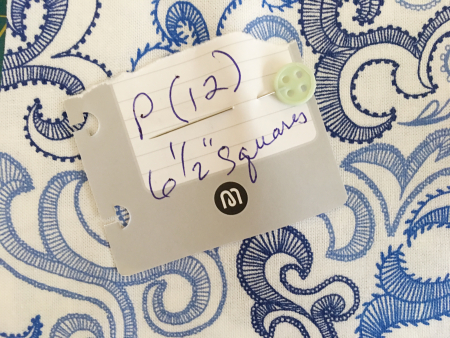
When I label my piles, I put the referenced Alphabet letter from the instructions, the number of pieces in parenthesis, and the size of the pieces.
I’m ready to begin piecing the quilt together! All that is left to do is get my thread ready on my sewing machine and fill several bobbins. I will be posting my process in the days to come!
Thank you for stopping by!