Mother’s Double Dutch Quilt Part 6

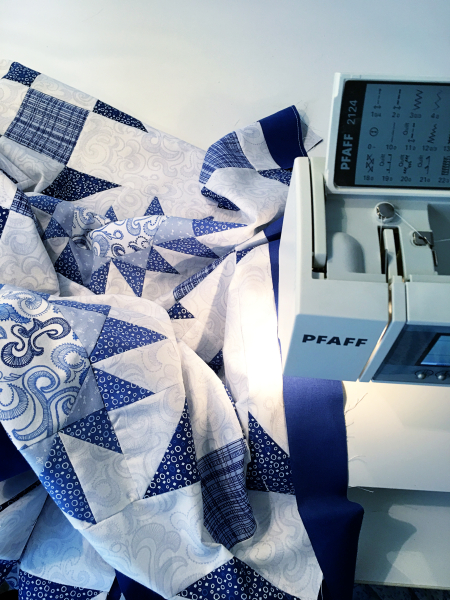
Progress is a beautiful thing, especially when that progress settles into a finished quilt top!! And here is how I finished the quilt top for the Double Dutch Quilt! This is the largest quilt I have ever made. I’ve made many a lap quilt, but never a queen size quilt like this one. Intimidating? Yes. Possible? Well, so far so good.
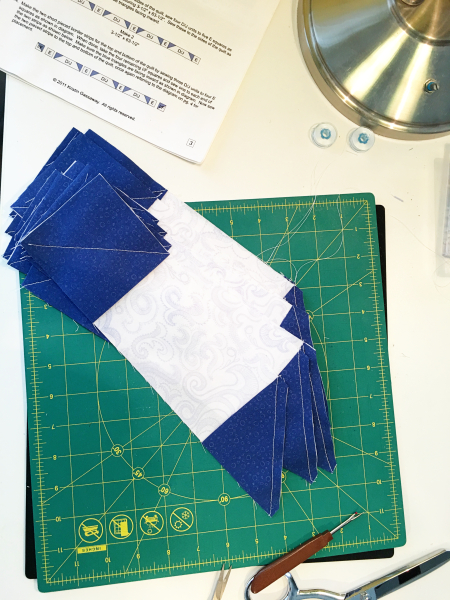
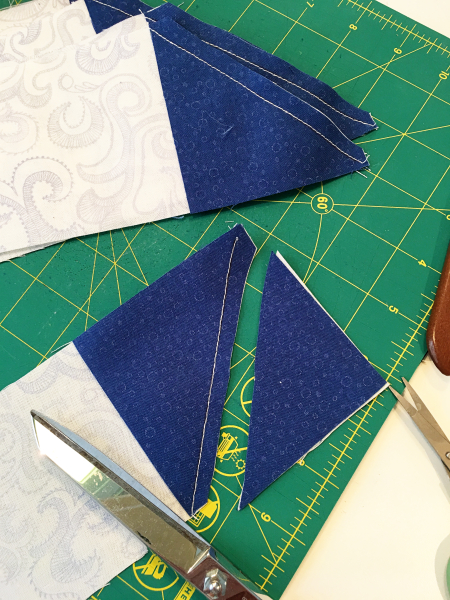
Today was all about the remaining sashing around the perimeter of the quilt. Following the instructions, I matched squares with rectangles, clipped the seams, and pressed.
These pieces, once sewn together, will be the final quilt block pieces for the center of the quilt.
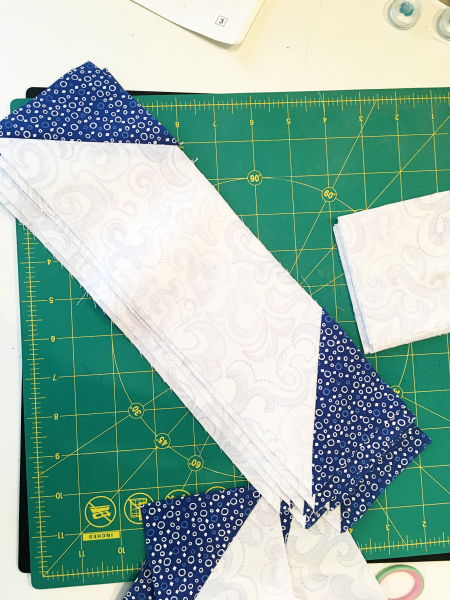
And after pressing the seams open, I have these long rectangular pieces
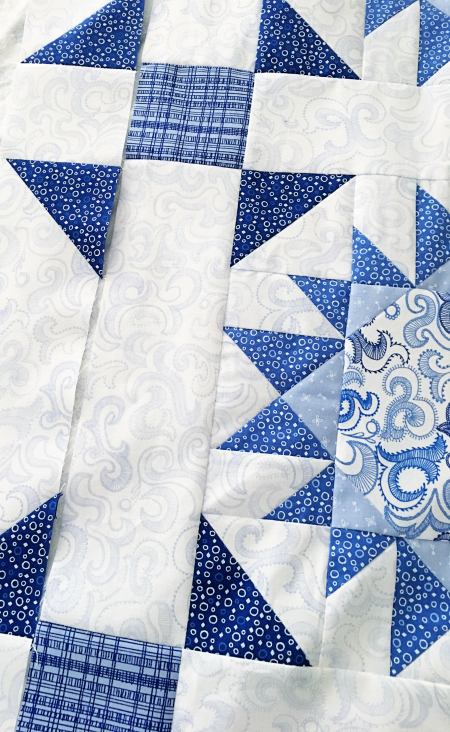
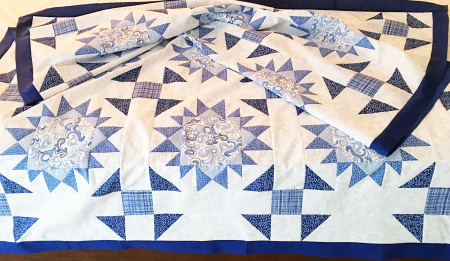
I had the quilt top lying on my bed, and I placed the first completed side sash up against one side to make sure it was right. It was! I pinned the side sash to the side of the quilt, lining up and matching seams, and then I sewed it on and pressed it in place
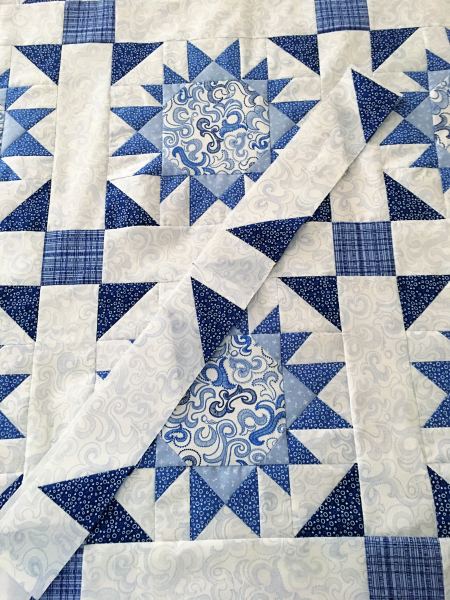
After I got the left and right side quilt sashes sewn in place, I created the sashes for the top and bottom, laid them on the quilt to make sure they were the correct length and that once pinned, I had the points going in the right direction. Always check your points!
By the time I got to this point today, I was pretty sure I would finish the quilt top before the day was done.
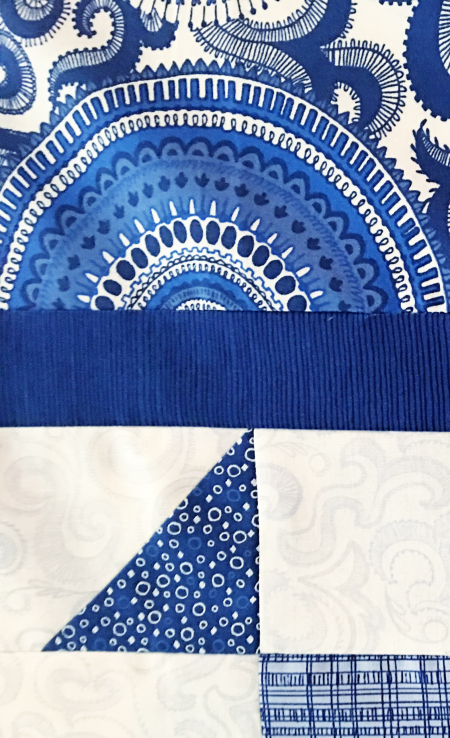
After sewing on the final quilt block sashes, it was time to add the trim sashes. Trim sashes are actually easy. No need to match up seams, just make sure the edges are aligned when sewing your 1/4″ seam and that the fabric sash is longer than the length of the side of the quilt you are sewing. Once you have sewn on one side, trim the end so that it is flush with the edge of the quilt (the perfect length for that side).
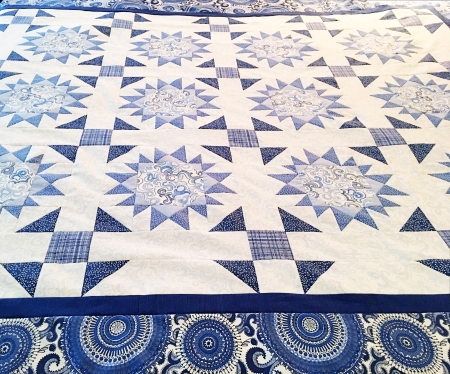
Done with the dark blue sashing around the perimeter of the quilt block center!
And now to add the final wider sash to the perimeter of the quilt top. This is the final step
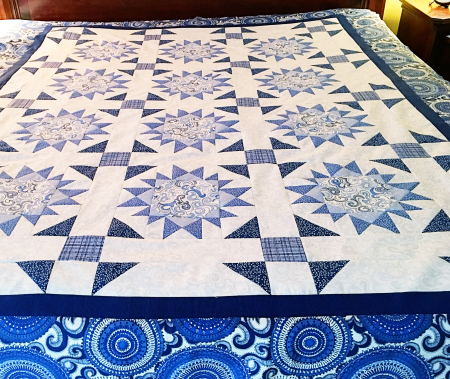
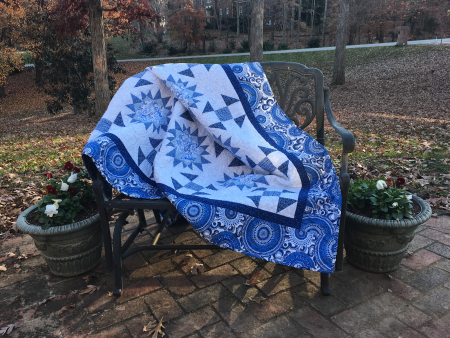
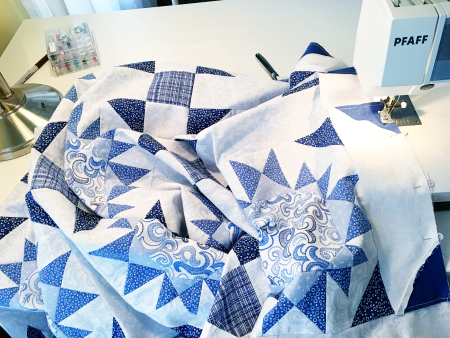
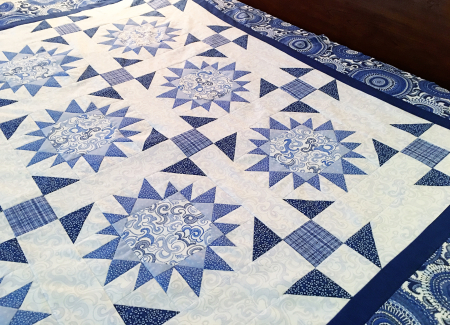
And here it is! The completed quilt top!
Now the hard part begins. Yes, you heard me right. This was actually the easy part. Next, I have to make sure I have the right size batting. I better start looking. I might have to buy some to fit this quilt. Then I have to press and pin the backing face down on my bed. Place the batting on top of the backing and the quilt top you see here on top of the backing and batting. I will pin all three layers together then hand baste all three layers together corner like a pizza.
That alone will probably take me several days. Then, I will begin to machine quilt after I figure out what quilting patterns I want to put in the quilt. There is a lot of work that goes into making a quilt. It doesn’t end with the quilt top! And there are two very important creative elements to every quilt – the design of the quilt top and block pattern, and the design and pattern of the quilting itself that holds all three layers together. Both of these elements makes the finished quilt spectacular!
Hope you’ve enjoyed following along as I make this quilt top! The process will continue as I now begin the process of actually “quilting.”