Mother’s Double Dutch Quilt Part 10
The Binding
Binding can be complicated, but once you’ve done it a few times, it’s not so bad. You may get frustrated fussing with the quilt under the sewing machine, especially if it’s a big quilt like this one, but when it is complete, you’ll know it was worth every effort and every stitch.
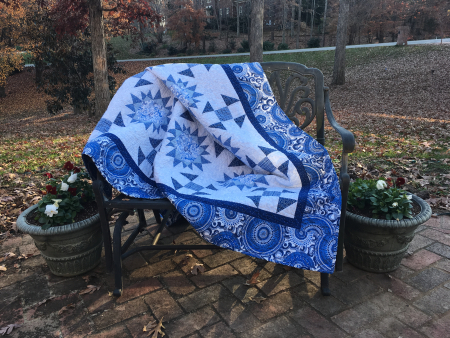
As for this quilt, when I trimmed the excess backing fabric and batting from around the quilt, I had more than enough fabric to make the binding. I decided to use the same fabric as the backing for the binding. For me, and for the size of this quilt, it was just easier, because I could machine sew the binding on completely, and not have to hand stitch the backside.
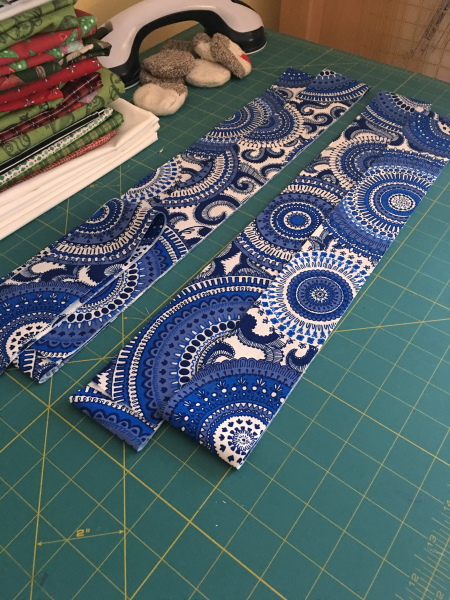
First step – measure the height and width of your quilt and multiply x 2. This will give you the exact measurement in inches you need for the binding. My quilt is 310 inches. 75×2 and 80×2. After taking the measurement, I cut strips of binding in 2-1/2″ strips.
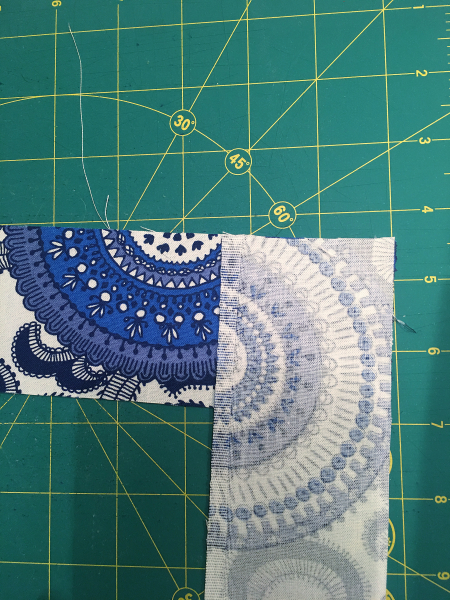
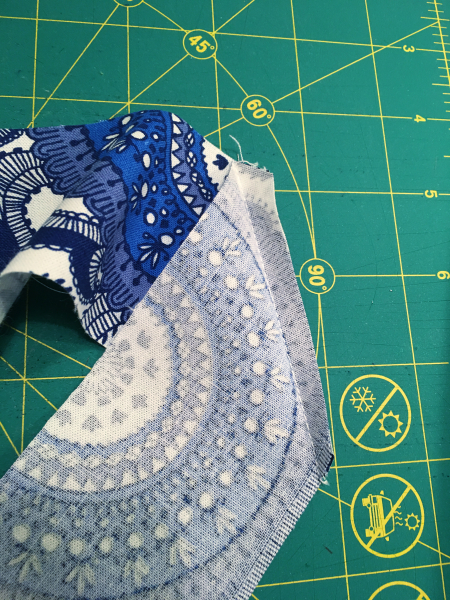
Sewing the strips together, with right sides together, place one on top of the other at a right angle.
Stitch at an angle beginning at the top left to the bottom right.
Trim the seam to about 1/4″
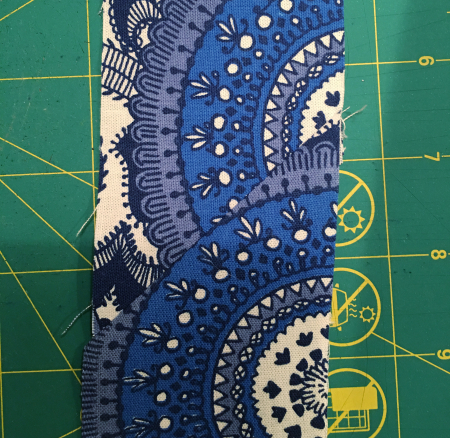
Press the seam open. Your two pieces of 2-1/2″ binding should line up nicely and the angled seam should be barely visible.
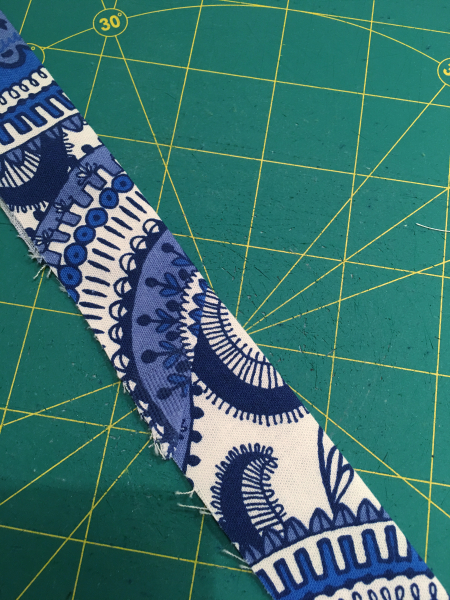
After sewing all the 2-1/2″ binding pieces together and pressing open each angled seam, fold your binding in half and press. Be as accurate as possible lining up the raw edges when you fold it in half and press.
That was the easy part. Now begins the frustration of fighting your large quilt which will be hanging off the table on your lap, under your arm, and everywhere to your left. Make sure you’ve cleaned up your sewing table to your left or everything will ultimately end up on the floor.
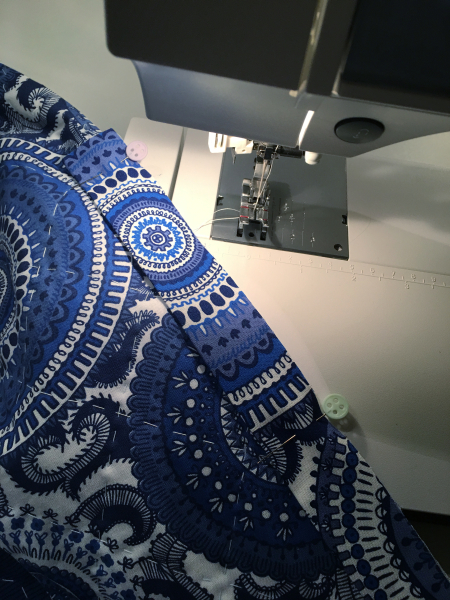
When you begin, you want to place the unfinished edge of your binding along the unfinished edge of your quilt, and you want to begin by placing the binding in the middle of a side – NOT on a corner.
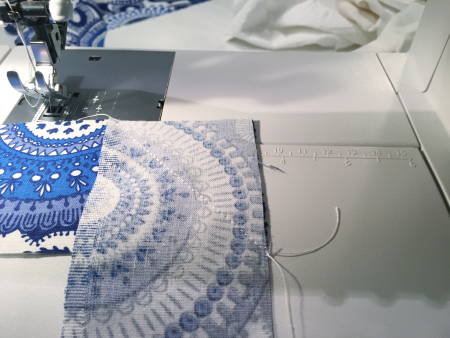
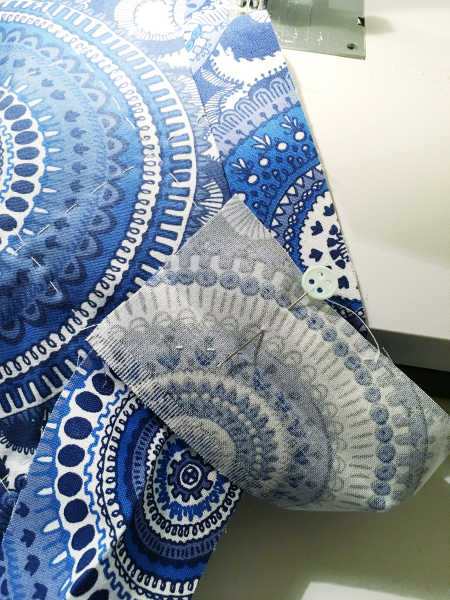
As you begin pinning, place the first pin where you are beginning to add the binding. Then, place a second pin about 6 inches away. The second pin (my light green pin in the picture) is where you begin sewing on the binding using a 1/4″ seam. DO NOT BEGIN AT THE FIRST PIN!! The reason you need to start 6 inches away is so that you can make a perfect angled seam when you reach the end of attaching the binding.
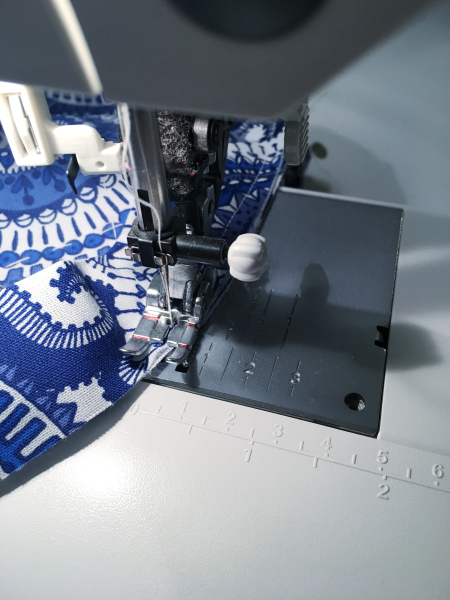
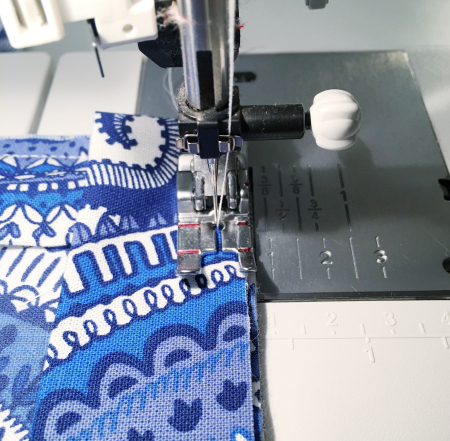
Starting at the 2nd pin, begin sewing a 1/4″ seam along the raw edge of your quilt. When you get near to the end of one side, angle the stitching to run off the end corner rather than off the edge. The reason for this is to make the corner perfectly angled.
TIP: A good tip for sewing on binding – make sure your machine always stops with the needle in the “down” position. It will save you a lot of grief.
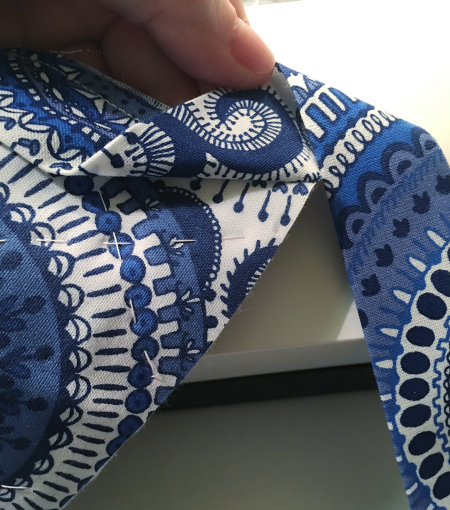
When you reach your corner, if you angled your stitching to the “corner” of that side instead of sewing all the way off the end of the quilt, you will be able to make a perfect corner on your quilt bindings.
Take your binding and fold at a right angle so that the raw edge of the binding is now lined up with the raw edge of the quilt, and begin sewing the binding on down the other side.
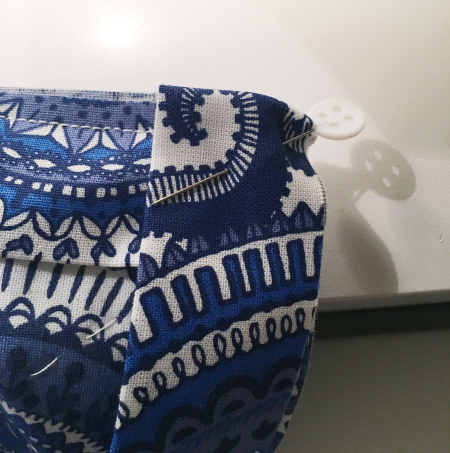
Once you get your machine needle in place to begin stitching a 1/4″ seam down the other side, remove the pin and begin sewing, lining up the raw edges neatly.
You’ve now sewed all the binding onto your quilt and come near to the end. Stop about 6″ from where the beginning of the binding was placed with the pink pin. Measure the end piece 2-1/2″ over top of the beginning piece where you first pinned on the binding – (The pink pin in the picture above in this post). This is actually a trick. By lying the end piece over the beginning piece and cutting the top piece at exactly the width of your binding (in our case that would be 2-1/2″, your binding will fit perfectly.
Now, with right sides together, and making sure your binding is not twisted anywhere (I’ve done that!), place them at right angles, like you did when you were sewing all the pieces together. You will want to pin this because getting it under the machine might be tricky. By leaving 6″ open on the beginning piece and the ending piece of the binding, you will give yourself enough room to maneuver the final piecing of the binding.
Trim the corner of the pieced seam like you did when you were first piecing the binding together. Your binding should lie flat and fit your quilt perfectly.
Now carry that big ol’ quilt to the ironing board and iron the binding open. Here is where you need to make a decision: 1. Do you hand stitch the other side in place, or 2. do you machine stitch the binding in place? I decided to machine stitch. If I had used a different fabric than the backing and border of the quilt, I would have hand-stitched the other side of the binding in place, but because I used the same fabric as my backing and border on the quilt top, I decided to just use a straight stitch and stitch it in place.
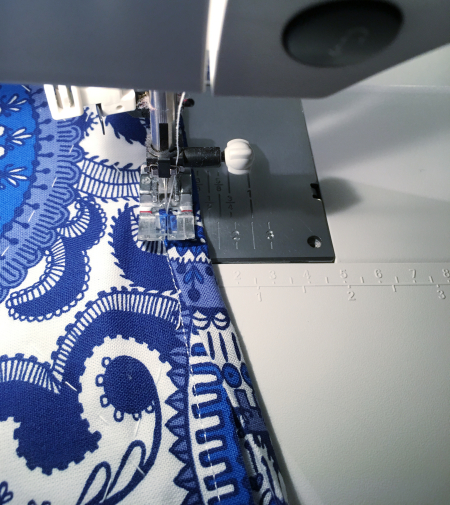
If like me, you decide to machine stitch the binding in place, and after you have pressed your binding open, fold it over to where the clean, folded edge of the binding meets the original 1/4″ stitching from the other side. Then, using a stitch that is close to the clean edge of the binding, stitch the backside of the binding in place. Make clean corners when you get to the end of each side, and your binding will be beautiful.
Here is a video tutorial that may be helpful as well: