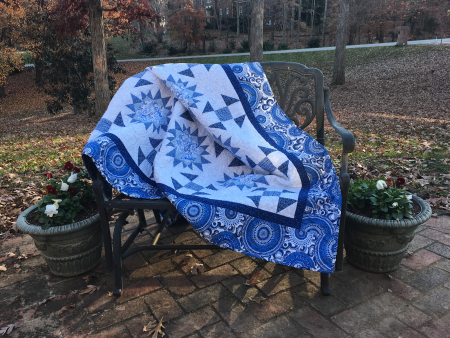
Mother’s Double Dutch Quilt Part 7

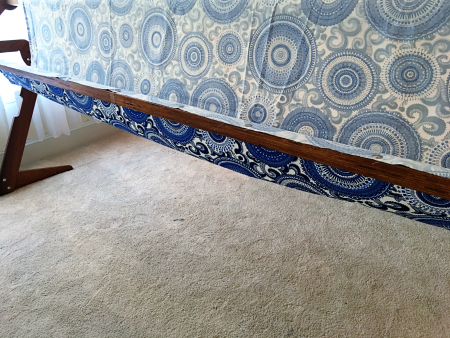
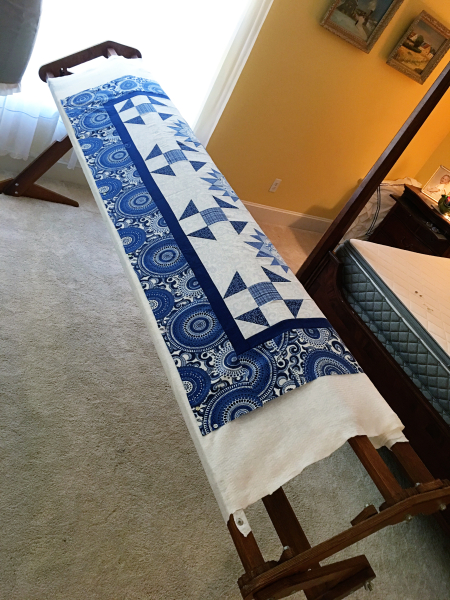
I had high hopes of completing this quilt swiftly, by handing it over to a professional long arm quilter to do all the quilting for me. And, I could have, but then the design would cover the entire quilt as one large design, rather than a single design around the sashing and in the large blocks. That is what I envisioned anyway, was having a quilting design that complimented the quilt top. Oh well, so much for that idea! So, reluctantly, my Big Bear and my grandson, Glen, pulled out my 96″ Grace EZ3 hand quilting frame from the attic. That thing has been collecting dust for 15 years.
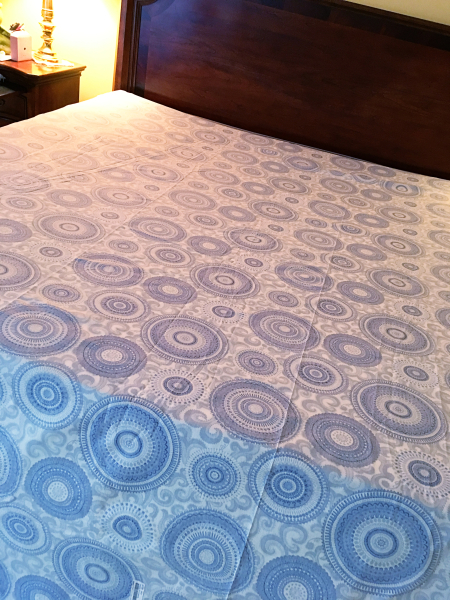
When making large quilts, it helps to have a large bed to use as your work space. I cleaned everything off our bed and placed the quilt backing fabric face down flat on the mattress
I laid the quilt top on top of the backing fabric. Smoothed it out, and prepared to cut the backing fabric to size.
I trimmed the backing fabric so that it was about 5″ – 6″ larger than the quilt top all around the quilt on all 4 sides
I removed the backing from the bed and set it aside and did the same thing for the batting, leaving plenty extra around the perimeter so that it was larger than the quilt top
I folded the quilt top in half, long ways, and marked the center of the quilt on both ends with a pin. I did the same for the backing and the batting. You want to mark the center of each layer before you place it on the quilt frame so that all layers lie flat and even on top of one another when lined up with the center marks on the 3 bars of the quilt frame

First process to attaching this large quilt onto this frame is the backing. I attached it “right side facing DOWN” onto the frame. Using quilting tacks, I tacked the top to the middle rail
And tacked the bottom to the front rail lining up the center of the quilt back to the center mark on the rail
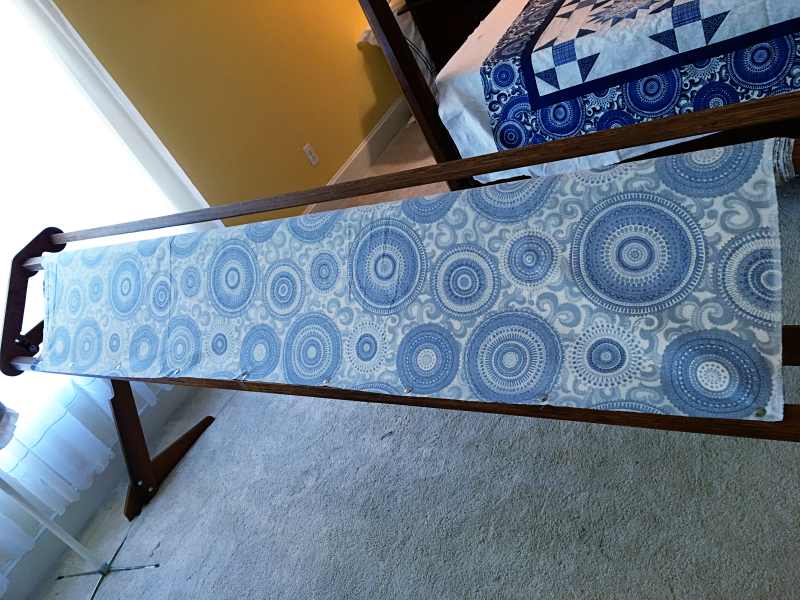
I rolled the backing onto the middle rail until the fabric was firm but not too tight. While rolling, you want to fun your hands across the length of the fabric to make sure it is smooth and even while rolling
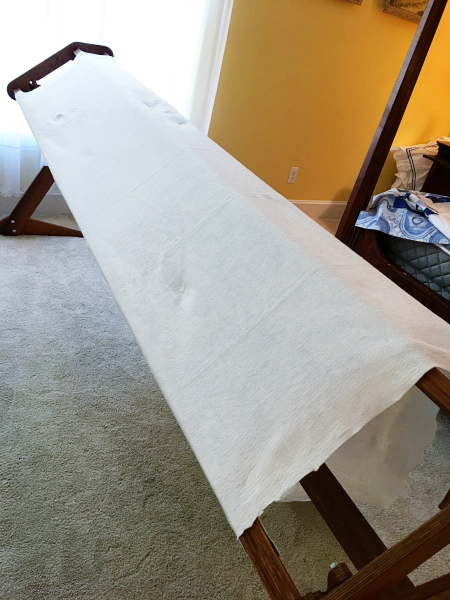
Next layer – the batting. I tacked it onto the front bar, lining up the center on top of the backing, but the rest was just thrown over the back of the frame for now
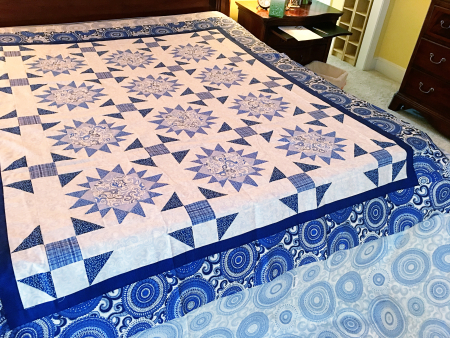
I placed the quilt top on top of the batting layer and lined up the center on the front bar. Again, I threw the rest of the quilt top over the back of the frame
No need to tack it on like I did with the backing and the batting. I just pinned the quilt top onto the batting and backing across the front, smoothed it out along the back of the frame and moved on to tacking the batting and quilt top to the back bar.
It was an arduous experience, but I got the quilt top and batting smoothed out and tacked onto the back bar!
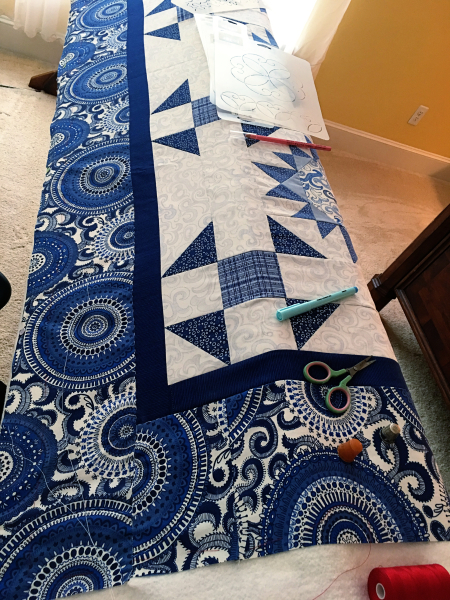
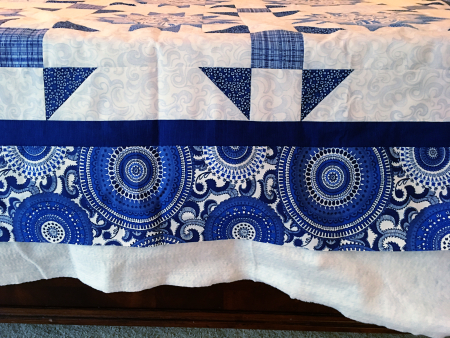
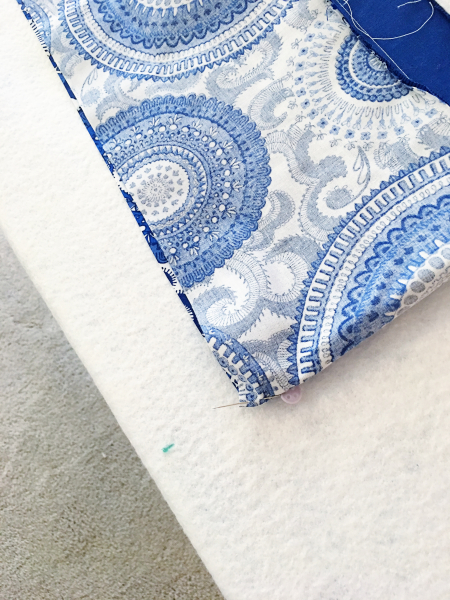
Using red thread and long 2″ stitches, I basted the quilt top to the backing and batting along the bottom edge and up the side edges as far as I could go
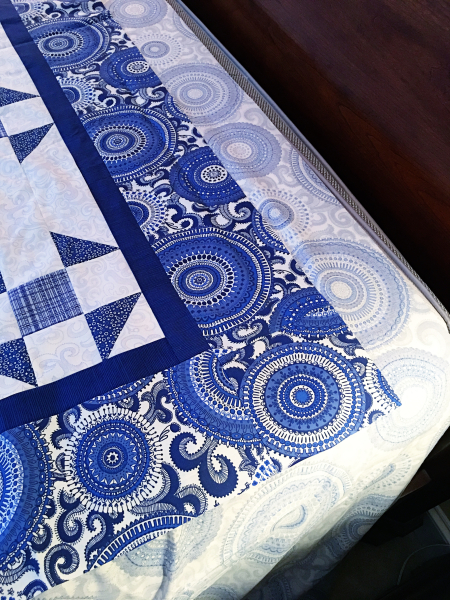
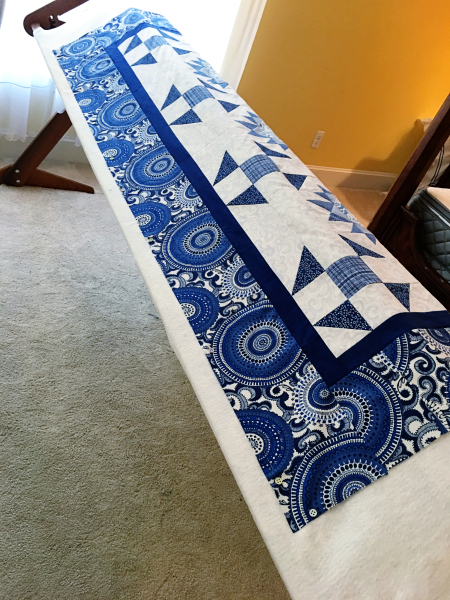
I decided that for the large sash going around the perimeter of the quilt top, I would hand stitch a simple diagonal checkerboard pattern. My stitches are 1/4″
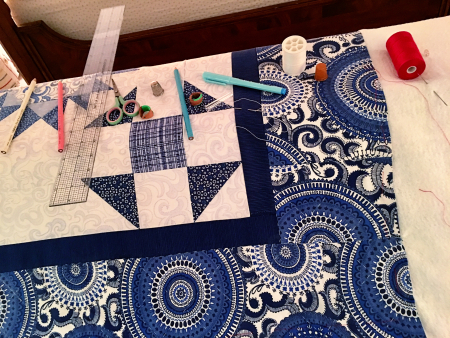
Hopefully I will have this bottom section quilted today and will be able to move on to the section just above the sash!
It’s a process! But, I have a feeling it will all have been worth it when the quilt is finished!