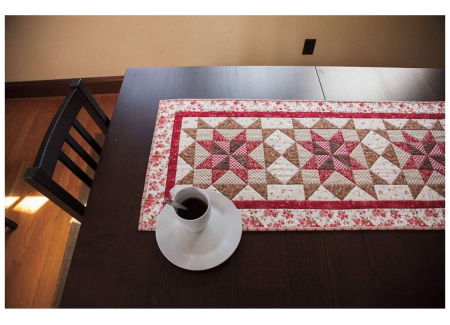
Thanksgiving Table Runner Day 2
I am making a quilted table runner for our Thanksgiving table, and sharing with you how to make it as easily as possible. Table runners are always fun to make and don’t take a lot of time to sew and quilt. They make great gifts too.
Before we get started, I’d like to share with you a trick to get your 1/4″ seams to perfection. No matter what sewing machine you use, if you are going to quilt, you will want to invest in a 1/4″ presser foot for your machine. I have a Pfaff Creative 2124 that is 13 years old and runs like a charm. I purchased this Honeysew 1/4″ presser foot for my machine through Amazon. The value in having a 1/4″ presser foot is that it takes the guess work out of getting your seam allowance perfect. Any deviation from the 1/4″ seam will throw off everything else in the piecing of your quilt. It really is very important.
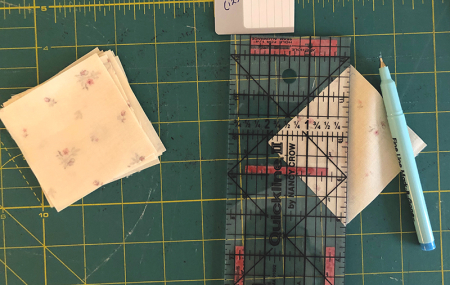
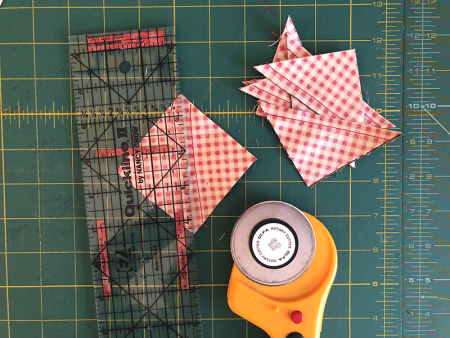
Yesterday we cut out the pieces to our table runner pattern. Some of those pieces require that you use an erasable fabric marker to indicate a diagonal line as shown. Make sure your marker line is drawn from one corner point to the other.
When you are done, set them aside. These markings are very important. There was a time I didn’t want to take the time to mark the squares with these diagonal lines. I used to think I could “eye-ball” it and be done with it. Not. These marker lines are as important as everything else in making your quilt top.
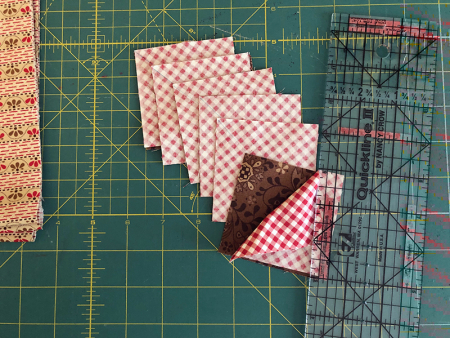
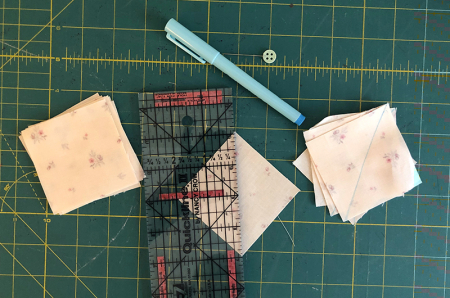
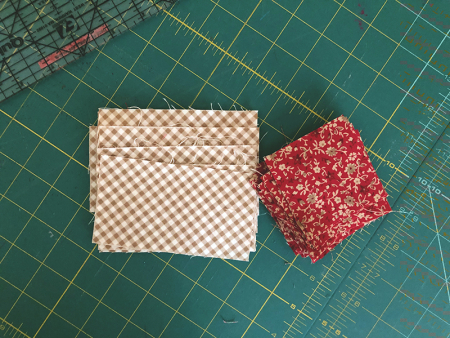
After you have marked all the squares that you are supposed to mark – indicated in the pattern – you will be placing certain squares together. When placing these cut squares “right sides together,” make sure that each piece is the exact size it should be! For instance, the red and white checkered fabric is 2 7/8″ square. The brown fabric is also 2 7/8″ square. I began putting them together and noticed that a few of the brown squares were not matching up to the red & white squares. I took them all over to my Olfa cutting mat and measured them on both sides. There were a few brown squares that were 2 7/8″ by 3″. My bad. I corrected the mistake and then they all matched up. I have no idea how I ended up cutting those squares wrong, but it happens, even if you do check it twice.
The important lesson here is to take your time and make sure your cuts and pieces are accurate. If you make a mistake, it is better to correct it as soon as you see the error. If you don’t, the whole quilt top will be wrong. Believe me, I know. Impatience is not your friend when quilting or sewing. Take each step slowly and focus. It can be tedious, but it’s worth the effort.
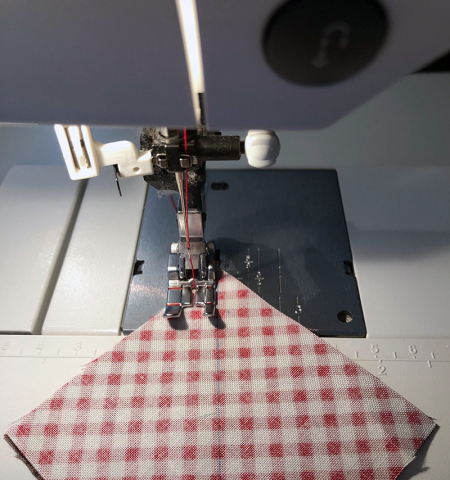
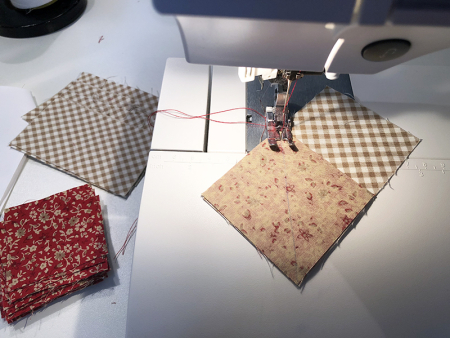
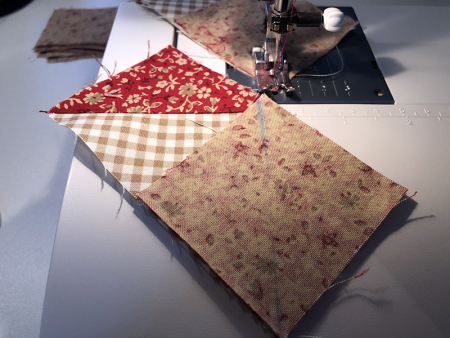
See that blue marker line on the back side of this square piece? I told you you would need it there! Line up the edge of your 1/4″ presser foot with the marker line and sew a 1/4″ seam on either side of the marker line.
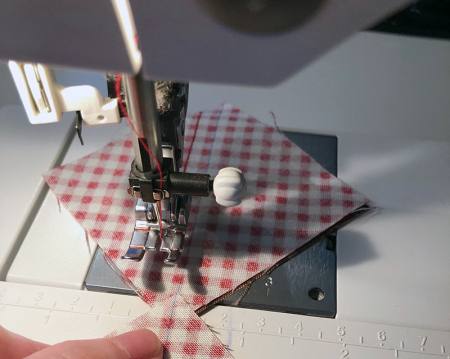
There are tricks to getting your piecing done efficiently. For instance, just before you complete sewing a 1/4″ seam to the left of the marker line, line up the point edge of another square and keep sewing until all the square piecing is complete.
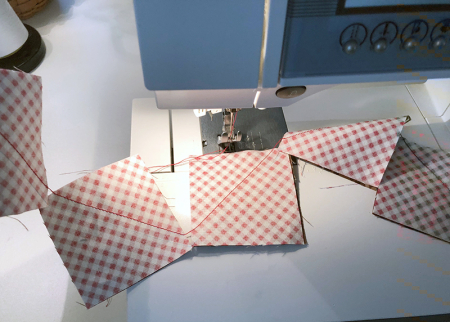
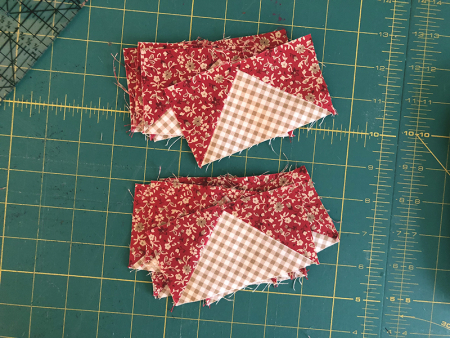
When you are done, you will have a train of pieces sewn together. Trim them apart.
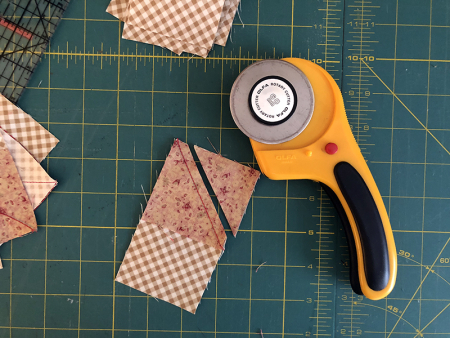
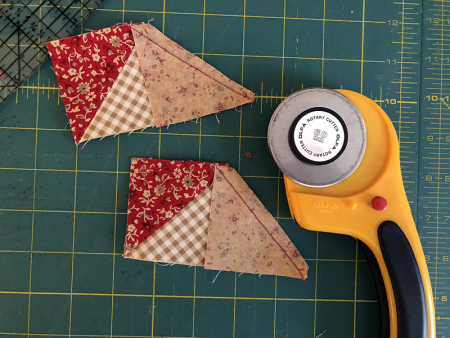
Turn the pieces around and you will be sewing another 1/4″ seam on the other side of the marker line. When you are done, use your rotary cutter and trim each square in half along the marker line as shown. You now have a bunch of triangles.
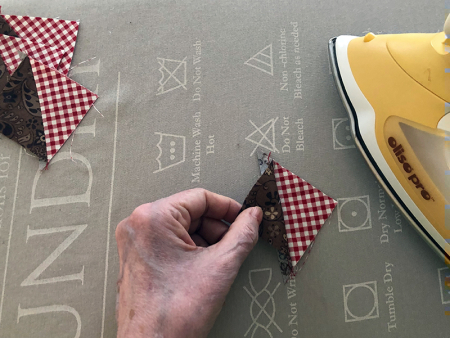
Press each triangle open
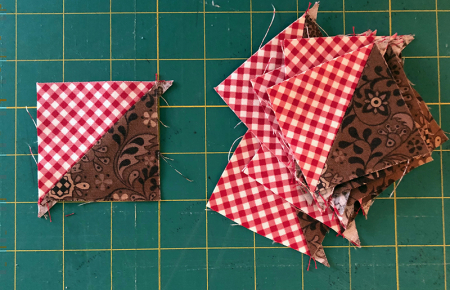
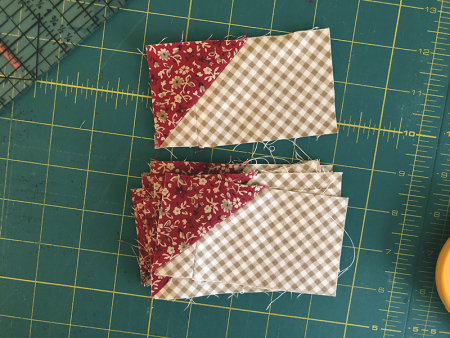
Your finished triangles will look like this. Trim the corner triangles off the edge.
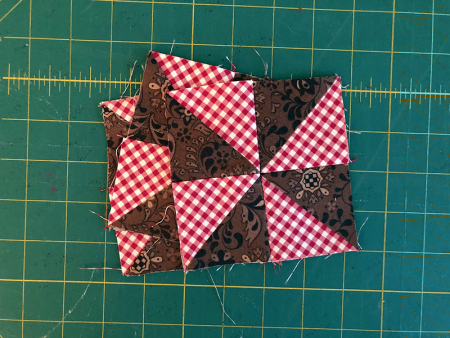
Following the instructions in your pattern, you will be sewing your pieces together to make a pinwheel. And there is something I want you to notice … the points and how they meet in the middle in the pinwheel. Perfection. That is because I corrected the measuring mistake of the brown fabric pieces before I sewed them together. The end result proves worth it.
In this next step we will be working with 12 rectangles and 24 squares. Set them aside and ready to piece together in the next set of instructions.
The next set of instructions are a bit trickier. But you can do it! You will be working with a rectangle piece and a square piece. You can barely see it, but if you look closely, you can see the diagonal marker line on the back of the square piece. Looking at the image in the instructions, I made sure I was placing the square correctly on the rectangle. Sew ON THE the marker line. Do this for all 12 rectangles and 12 of the 24 squares.
Trim a 1/4″ seam in the seam allowance. Be careful to make the cut in the right place!
When you are done with the first piecing, press open as shown
With the remaining squares, you are going to place them on the other side of the rectangle pieces, and making sure your diagonal marker line is correctly placed on the rectangle piece, sew on the marker line as shown.
When you are finished sewing the red squares onto the other side of the rectangle, trim a 1/4″ seam as shown.
Press open and your rectangles should now look like this, and they should be 2 1/2″ x 4 1/2″
That’s it for today! Come back tomorrow for more piecing!
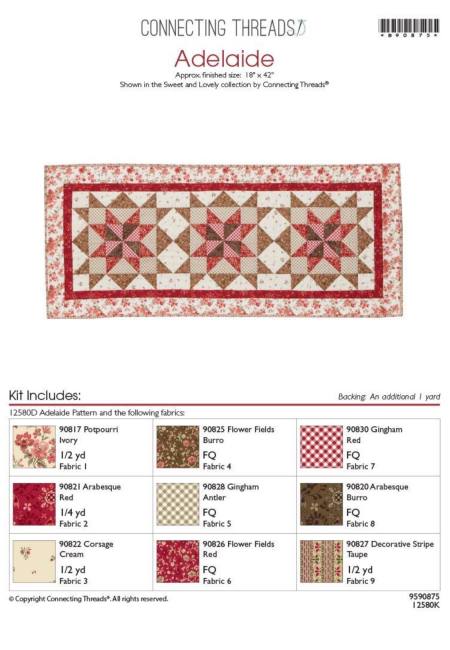
For those that don’t know, I am making the“Adelaide” table runner kit offered by “Connecting Threads” . This is a sew-a-long with me project. You can order your kit online, and when you get it, just pop on back here and we can sew together.