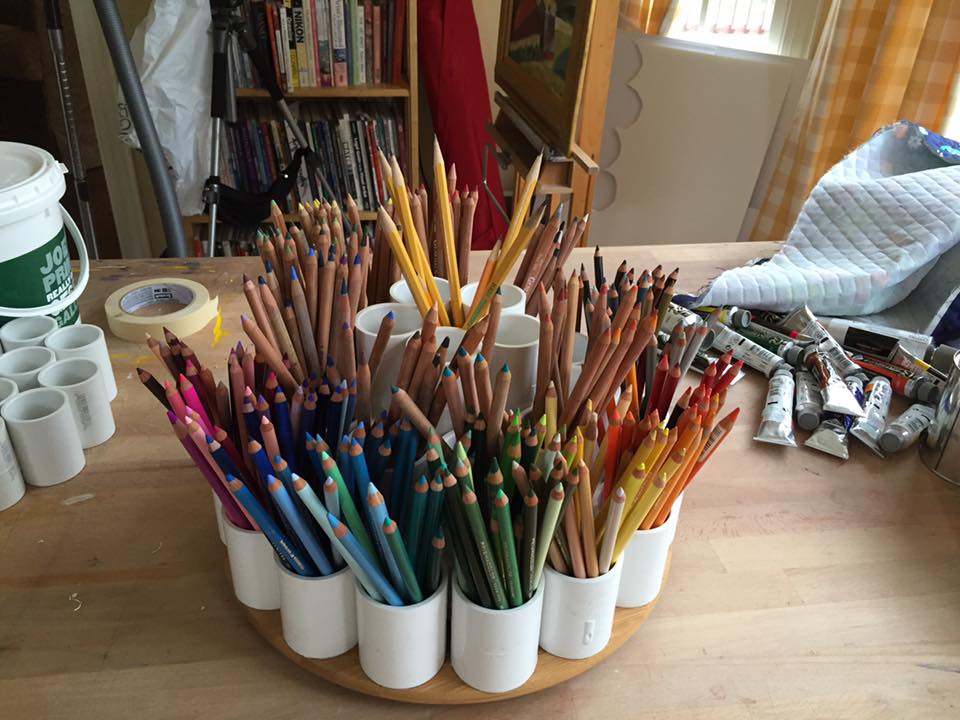
A DIY Colored Pencil Turntable
I made this turntable in 2016 for all my colored pencils, of which there are many, and after I finished putting my colored pencils around the outside, my pastel pencils in the middle, and my charcoal and regular pencils around the top, I decided to share this tutorial with you.
For this Project You Will Need:


Instructions:
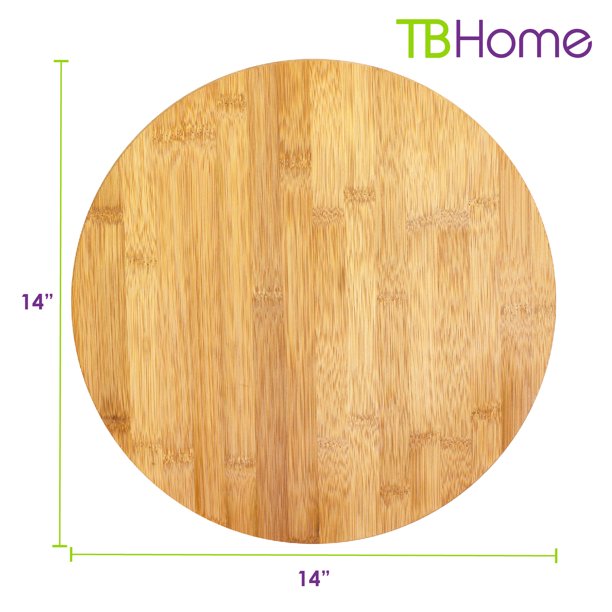
I purchased a 14″ bamboo lazy Susan turntable at Walmart which is a bit larger and better than the plastic Rubbermaid ones you may see in the store. You will want to make sure the surface is clean.
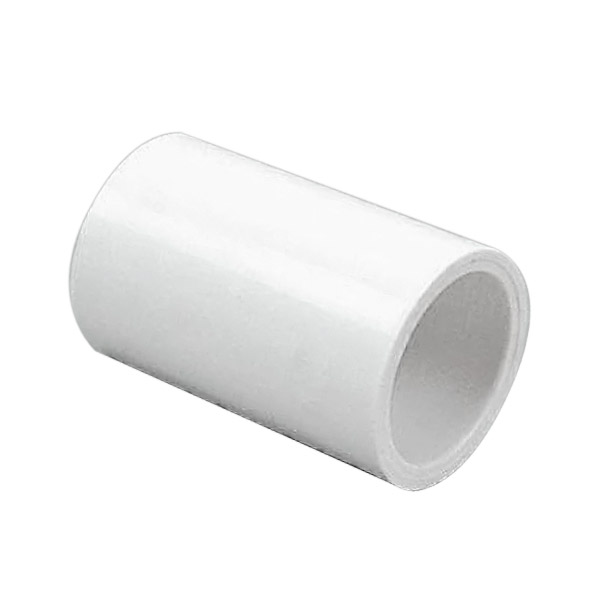
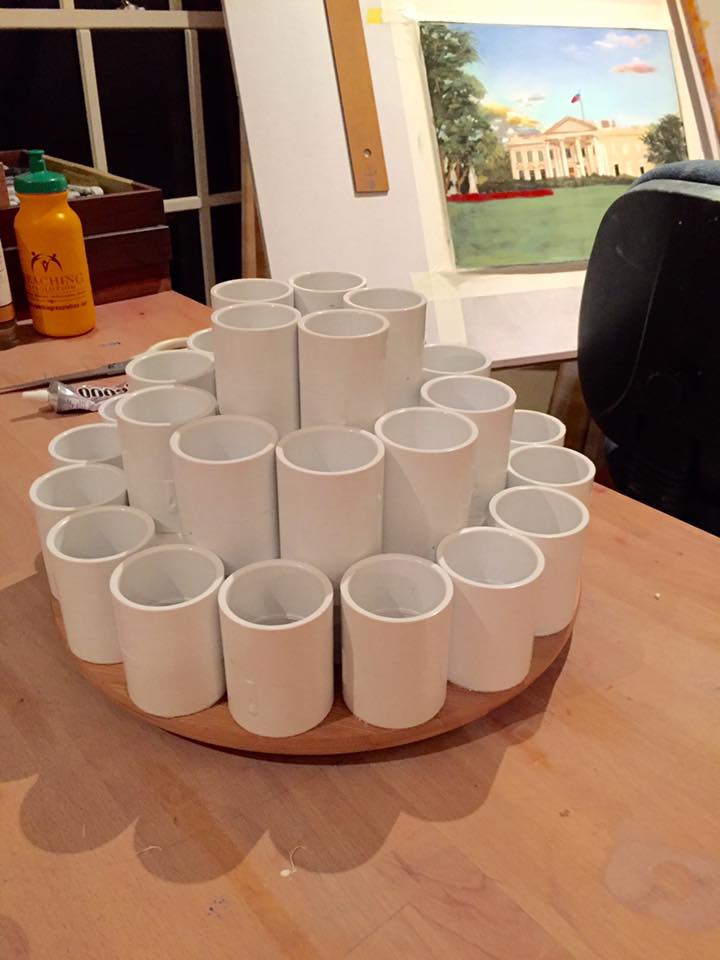
Place sixteen 1-1/2″ PVC couplings around the perimeter of the turntable, making sure they fit properly around the perimeter. Then, glue them in place by putting a bead of glue around the bottom edge of each coupling.
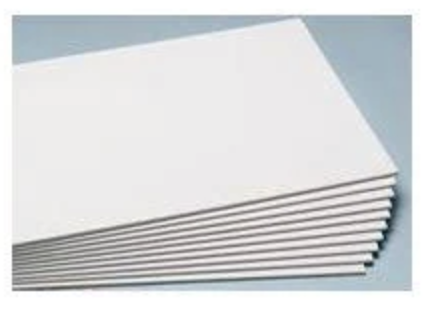
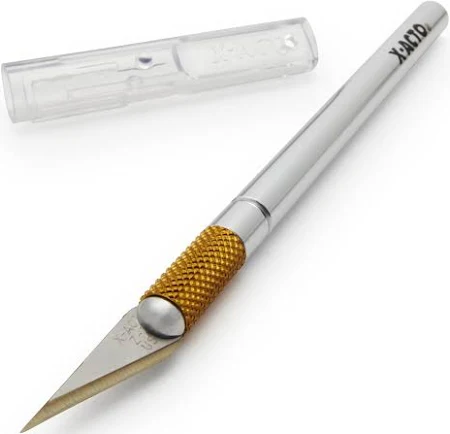
After the glue dries on your couplings, make four 1/2″ foam core circles to fit between the couplings and glue them in place. Simply measure the inside distance of the couplings, draw four circles on your foam board, cut them out using an X-acto knife, check that they fit properly, and then glue in place and together. These are used to elevate the next row of couplings.
Place 10 more 1-1/2″ couplings around the perimeter (up against the inside of the first row) to make an elevated second row and glue them to the foam core.
Next, make four 1/2″ foam core circles to fit between the couplings of the second row and glue them in place. Simply measure the inside distance of the second row couplings, draw four circles on your foam board, cut them out using an X-acto knife, check that they fit properly, and then glue in place and together. These are used to elevate the next row of couplings.
Place five 1-1/4″ couplings around the perimeter (up against the inside of the second row) to make an elevated third row and glue them to the foam core.
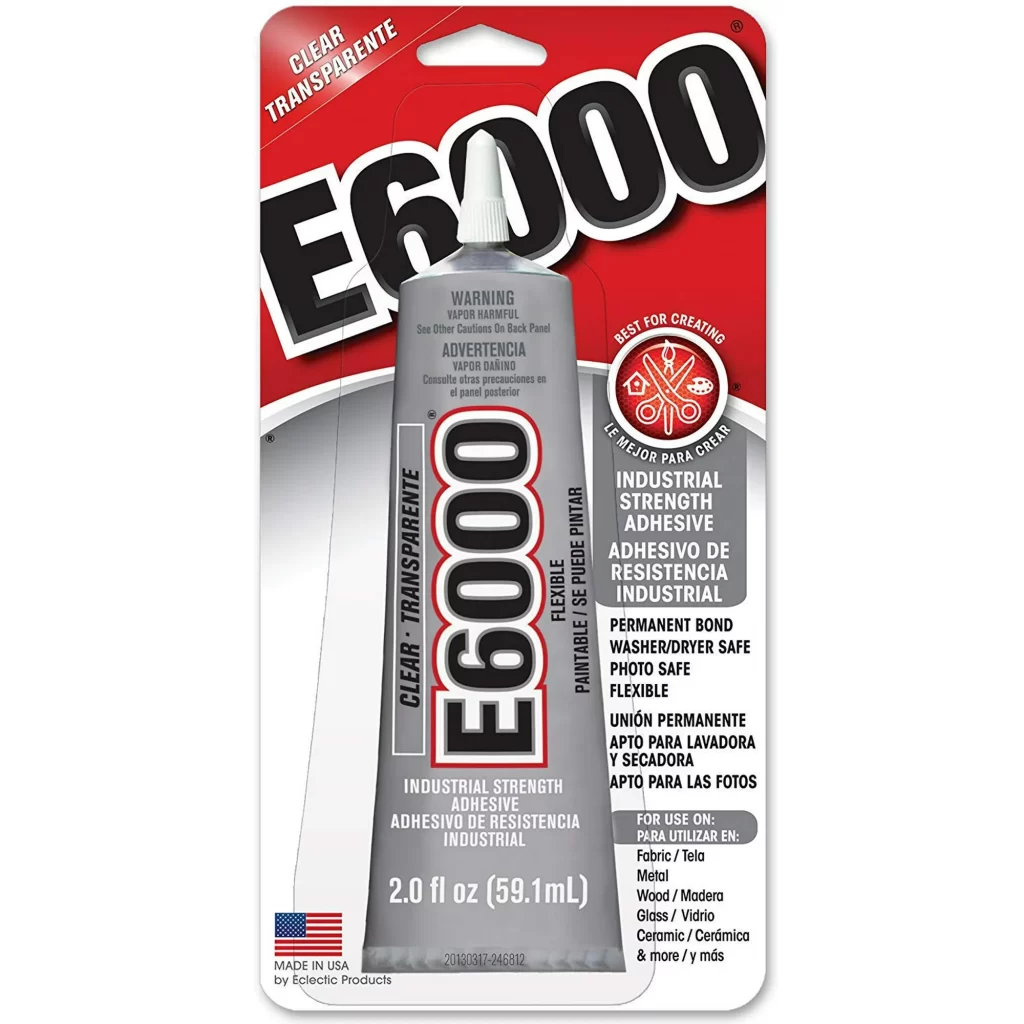
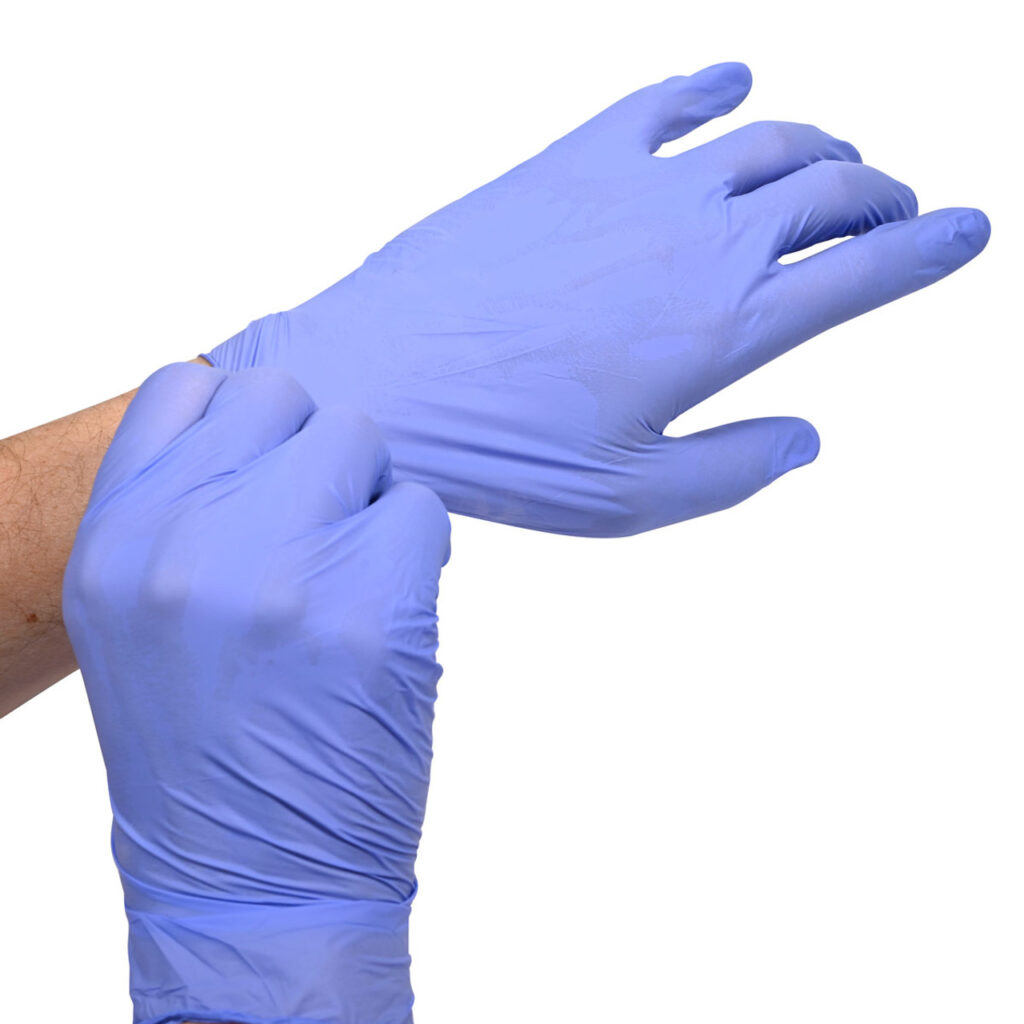
When using E6000 adhesive, always use disposable gloves. You do not want to get this adhesive on your skin.
I let it sit overnight so the glue would set. By the next day it will be strong and ready for your pencils!! Also, there will be an open space between the last top row of couplings that you can also use to place more pencils.
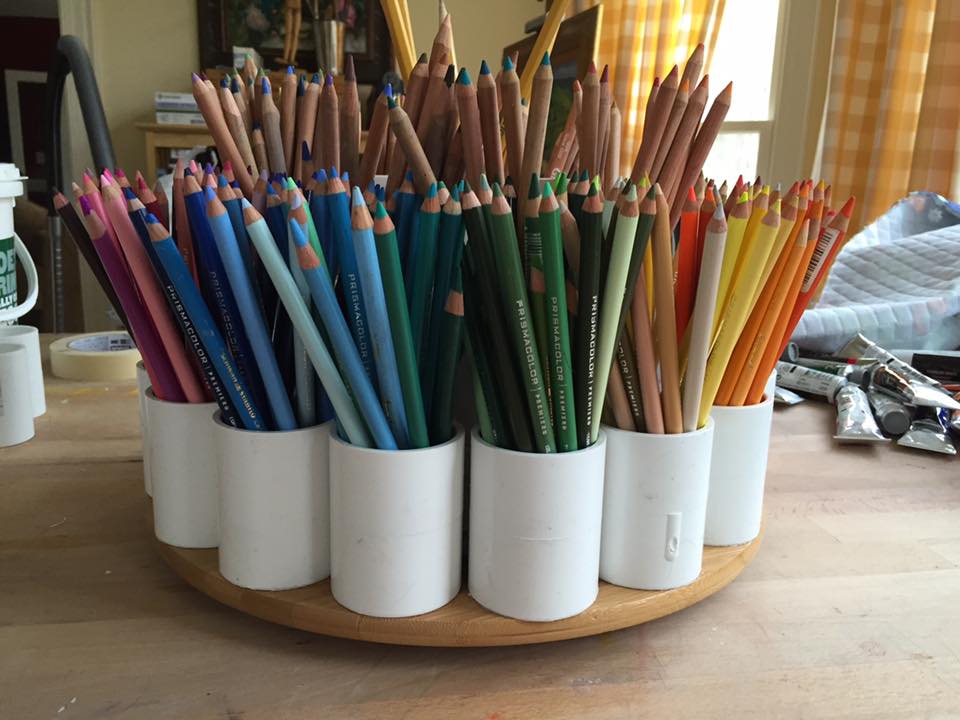
This is a fun project to make with your children too!!! A great display for crayons, paintbrushes, and colored pencils of course!! Put it in the center of your table and your children can color with friends over too!