
A Quilt For Kim
These last several weeks, I have been working daily on a quilt for my daughter, Kim, who remains in the hospital fighting to recover from open-heart surgery and acute respiratory distress from a lung infection. Busy hands and mind help me to stay faithful for her full recovery, so I have been sewing and quilting, learning to knit again, for the first time in almost 33 years, and painting too. My house is a mess, but at least I’m not sitting idle!!
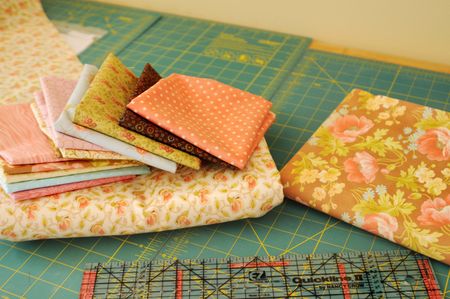
Thinking of the colors Kim loves and the colors of her home, I purchased some beautiful fabric at my favorite quilt shop – “The Quilt Patch” in Stallings, North Carolina. Charlotte, the owner, helped me to find some beautiful fabrics for this lap quilt.
I love making lap quilts. They are not too big and not too small, and just the right size for covering yourself on the sofa or in a chair while reading or watching television, or even for naptime. Lap quilts are my favorite.
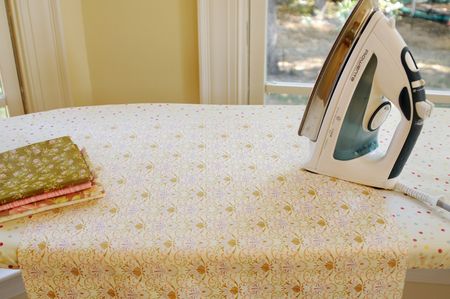
In this picture, above, I am pressing all of my Fat Quarters. I always press my fabric before I cut. It makes for more accurate measuring.
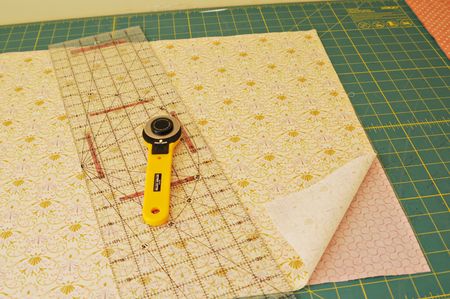
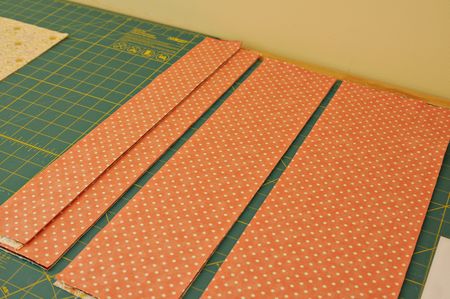
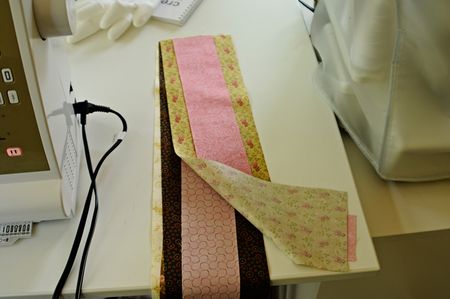
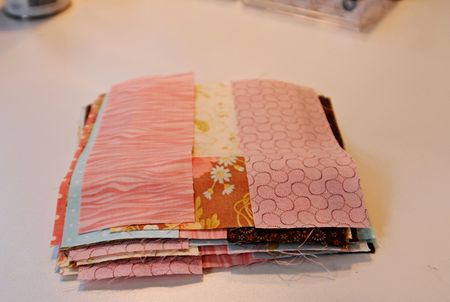
With fabric in hand, I created a simple pattern for my quilt blocks of various square and rectangular shapes and 2 borders, then pieced them all together. Here, I placed my pressed Fat Quarters on top of one another and then cut them into rectangles of various widths.
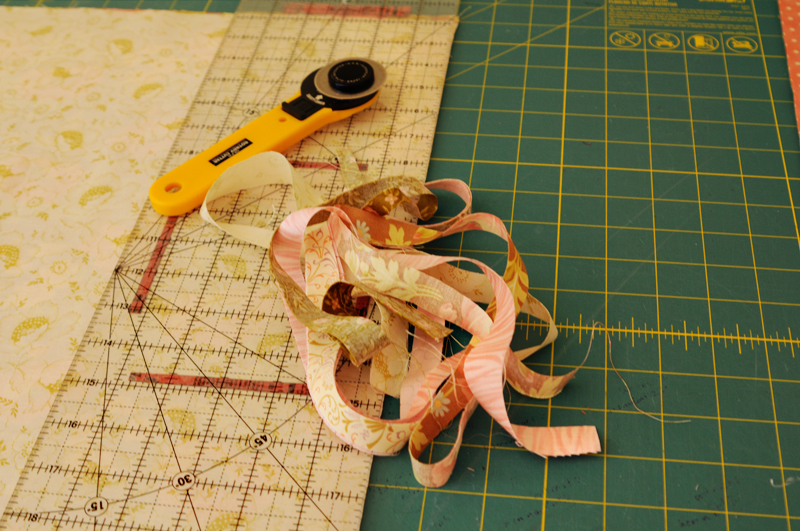
Before you begin cutting, always trim the measuring edge first, then all of your pieces will be exact.
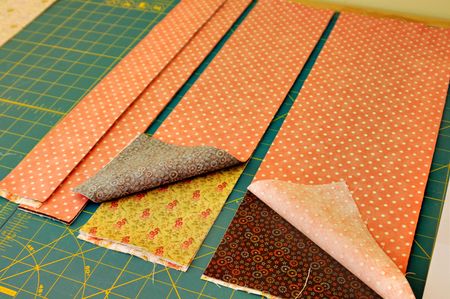
Here you can see how I divided up my fabric into groups of colors and sizes.

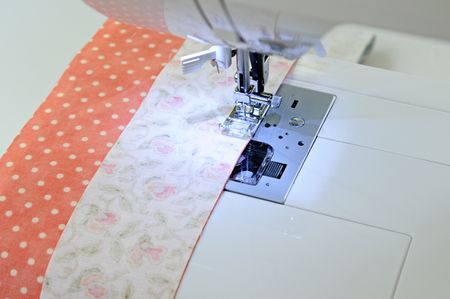
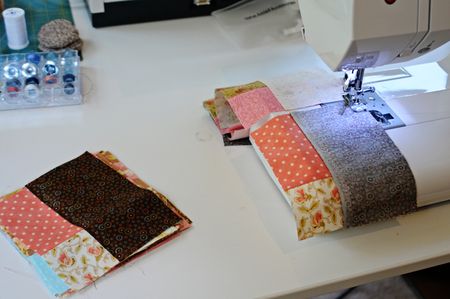
Then I sewed them together in various combinations with a 1/4″ seam. Check your presser foot to make sure that the edge represents the 1/4″ seam. Most machines come with a presser foot for quilting where the edge of the foot is 1/4″ from the stitching.
I put my combination of fabrics together before I started stitching them together so that I could make a running chain of blocks.
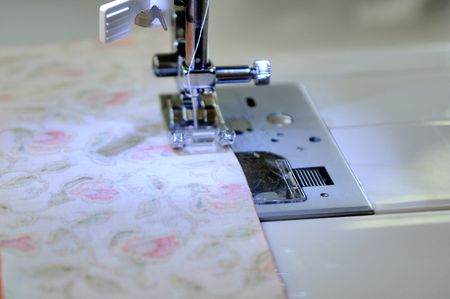
Be diligent about making sure that the edges of your pieces are perfectly matched along the edge of the presser foot. If you don’t check frequently, you might discover that the fabric underneath the top piece is off a bit.
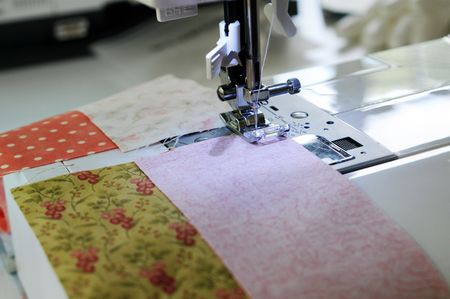
Here, you can see how I simply add the next panel of blocks and keep sewing. This is chain stitching and makes things move along faster when piecing your quilt blocks and quilt top.
I always have my iron “on” and “ready” to press! After every session at the sewing machine, I take all of my blocks, trim them from the sewing “chain” and press the seam allowance to one side.
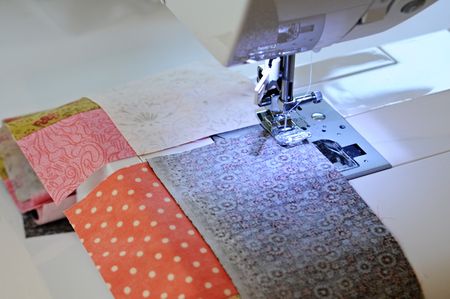
Again, make sure that your pieces are perfectly aligned before stitching them in your running chain.
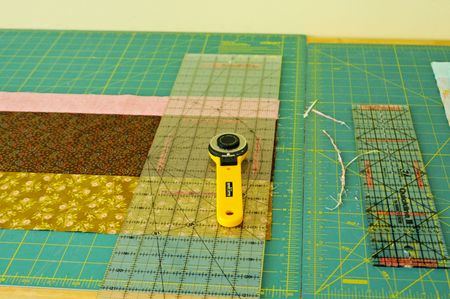
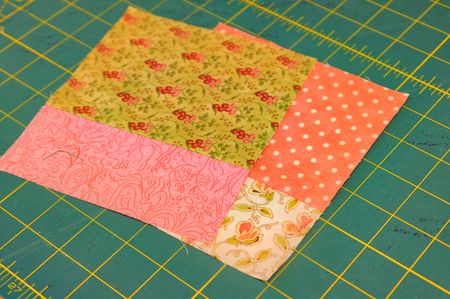
I stitched several 6 1/2″, 4 1/2″, and 2 1/2″ long sections together and trimmed the measuring end.

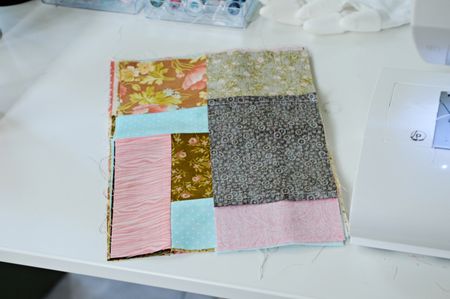
I matched the various blocks that I had stitched and pressed together, to make the final quilt blocks for the center of the quilt.
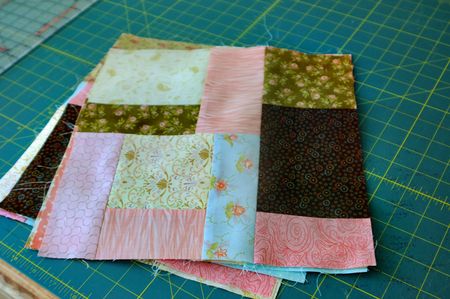
Piecing them all together, I made about 20 blocks and trimmed them to perfect squares. This is something like a crazy quilt, only I stuck with squares and rectangles as my shapes throughout the quilt top.
I layed the backing (right side down) onto my bed, and pinned it to the mattress all the way around the perimeter. (I always remove my sheets when pinning a quilt sandwich together or the sheet will get pinned to the layers!
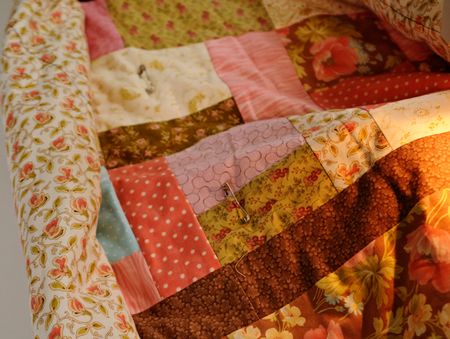
Next, I layed the batting on top of the wrong side of the backing. Then I placed the quilt top (right side up) on top of the batting. The backing and batting are about 3″- 5″ larger around the perimeter of the quilt top. Then, I used curved quilt pins to pin the layers together about every 6″ – 8″ or so. It really doesn’t matter as long as you pin from the center to the edges to move the fabric out and make sure all the layers are smooth.
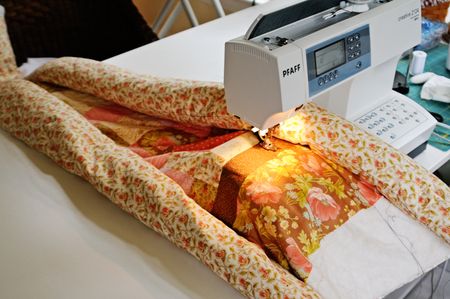
Next step was basting the layers together. I do all my quilting on my Pfaff 2124. After pinning the layers together, I roll up the quilt towards the center on both sides so that my basting stitch can begin in the center of the quilt. I baste with an unmatched thread so that it will be easy to pull out when the quilt is completed.
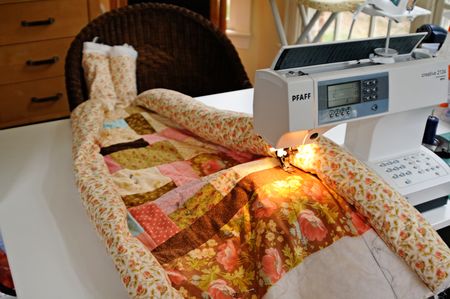
When you baste your quilt layers together, always begin in the center and work “South.” Then flip it around and baste in the other direction “North.” Next, take your quilt and roll it towards the center in the other direction and baste “East and “West.” Repeating the process, baste diagonally to all four corners.
By basting from the center – out – you push the layers with the basting and it keeps the layers together nicely when you are quilting.
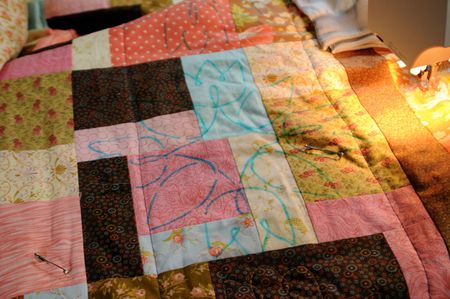
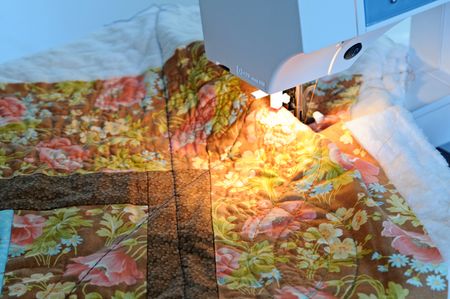
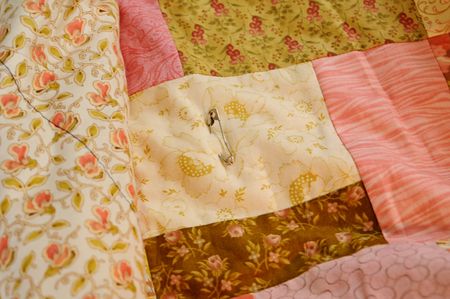
In this picture you can see the basting stitch to the right of the design I drew on my quilt top. I drew some fancy tulips and leaves in some of the quilt blocks using a “Mark-B-Gone” marker that disappears when I spray a mist of water on it. This is my guide for free-motion quilting on my machine.
Following the pattern, I stitched the tulip making for a nice quilt pattern on the quilt. That dark basting stitch will be removed when I am finished quilting the entire quilt together and before I put on the binding.
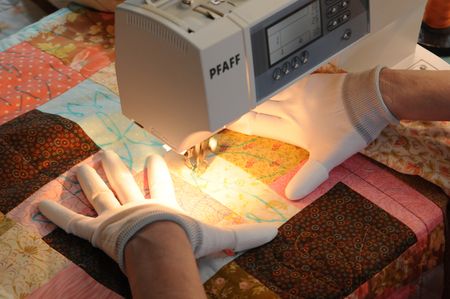
Moving right along. I wear these silly looking gloves for quilting. You can get them at any fabric or quilt store. It makes it easier to move the quilt layers together when free-motion quilting.
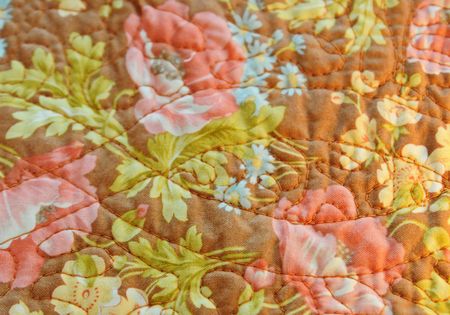
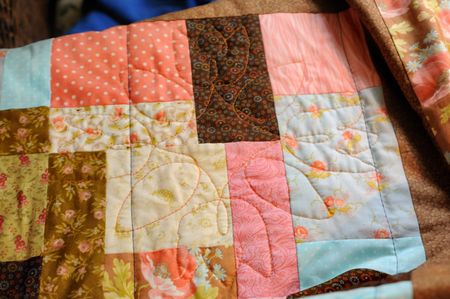
This is the pattern I am putting around the outside border of the quilt. I drew the pattern all by hand and then I “stipple” quilted around the design to make it stand out.
Corners. I hate corners when drawing a pattern on the borders. In this picture, you can also see how much larger my batting is from my quilt top. That’s okay, because when I am done quilting, I will remove the basting stitching and all the pins, trim the edges and then sew on a nice binding.
That’s where I’m at now! I will share the rest as I complete Kim’s quilt. Thank you all for your continued prayers for my daughter.
Have a blessed day!

Comments (9)
Jacqui MacNeill
October 10, 2011 at 4:45 pm
Quilting is a dying art. It’s a beautiful form of artistic expression that makes for a practical gift. The one you made is gorgeous! Way to go! 🙂
Kathleen Stephenson
October 2, 2011 at 4:46 pm
Susan, we need an update on Kim. Did they remove the ECMO yesterday as planned. I pray they did — and successfully! I thought of her all night with tears in my eyes. I know it has been such a long and hard road for you guys between Kim being so sick and Big Bear’s job situation. Praying still sweetie — may Kim heal, Big Bear get that perfect job, and your home remain with all of you to share your love in.
Ranta Kibbe
September 30, 2011 at 4:48 pm
Looks great Susan! Pinning it to your bed is such a great idea! I am going to do that on my next one! Such a useful tip, especially for anything larger than a baby quilt. Can’t tell you how many times I have been on my hands and knees on the hardwood floor trying to get everything layed out without everything sliding or bunching up. You should send that tip into Fons and Porter, maybe they will use it on air and send you a gift! Look forward to seeing the finished product. As always thinking of you and your family…..Ranta
Sandra Davidson
September 30, 2011 at 4:48 pm
Hi Susan, you are doing a beautiful job on the quilt.I know when I quilt I forget everything around me and just enjoy the beauty of the fabric. I think I know some of the fabrics you are using are from Laura Figuero’s Strawberry Fields? Those are some of my favorite colors to. I pray for Kim everyday? Is she improving at all? Love and blessings Sandra
Sara
September 30, 2011 at 4:47 pm
It’s beautiful Susan! I’m sure Kim will love it 🙂
Susan Huzzey
September 29, 2011 at 4:52 pm
I followed up until the “basting” and I have forgotten what that term means!! It was 37 years ago since I last did any quilting,at school, so I think I can be forgiven…. I look forward to seeing the finished quilt. I love the colour scheme. Sue Huzzey xx
Kathleen S
September 29, 2011 at 4:51 pm
Very beautiful, and YOU are SO TALENTED. You are also so kind to share your talent with others on your blog. Have you ever thought of starting classes on painting, sewing, quilting, knitting, etc. as another income source. Photography too for that matter. I think you could make a good business doing this, I really do.
Hugs for all of you, but especially for Kim!
Beth
September 29, 2011 at 4:50 pm
Beautiful pictures. I just knew this would be gorgeous.
Teresa
September 29, 2011 at 4:49 pm
I do not quilt, but enjoyed seeing what you’ve done… blessings to you as you work and pray. May God retore Kim’s health…