Thanksgiving Table Runner Day 1 of 7
This Thanksgiving, I wanted to add a special element to our family table – and a quilted table runner was just the thing I had in mind. And if time permits, I might even order some more of this fabric collection to make quilted placemats and napkins too! But to start, I go straight to “Connecting Threads” and search through their kits. I love their quilting kits. They come with easy to understand instructions and all the fabric you will need to make the quilt top. Then you choose the fabric you would like for your backing. That’s extra.
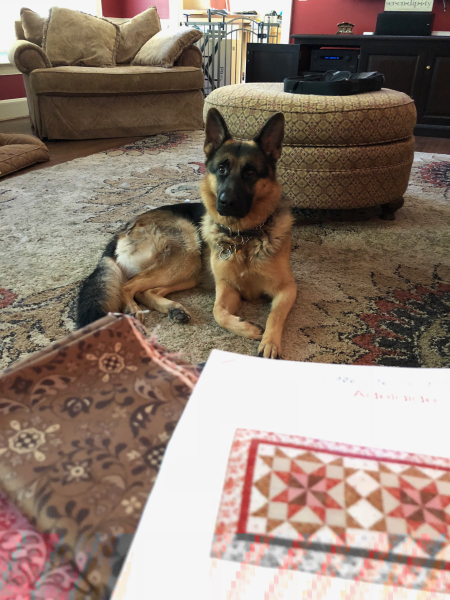
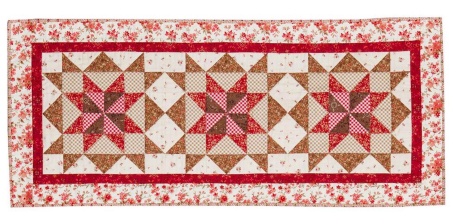
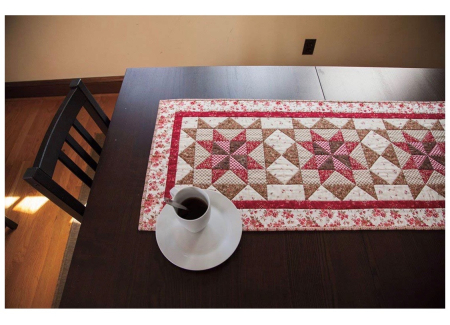
For this project, I ordered the “Adelaide” table runner kit. The finished table runner will be 18″ x 42″, and Chester helped me open the bag of goodies.
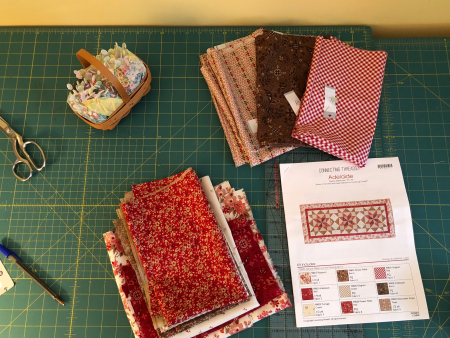
The first thing you want to do when you get your kit of instructions and fabric, is to make sure you received all the fabric you need to complete your project, and label each piece of fabric. There are names for each fabric design, but also numbers identifying each individual piece of fabric. I tear off a piece of paper, write the # of the fabric from the instructions, and pin it on the fabric that it coordinates with. I don’t like mistakes. I’ve learned from years of sewing that taking your time, reading the instructions completely first (imagining what you are doing in your head while reading), is the best way NOT to make any mistakes.
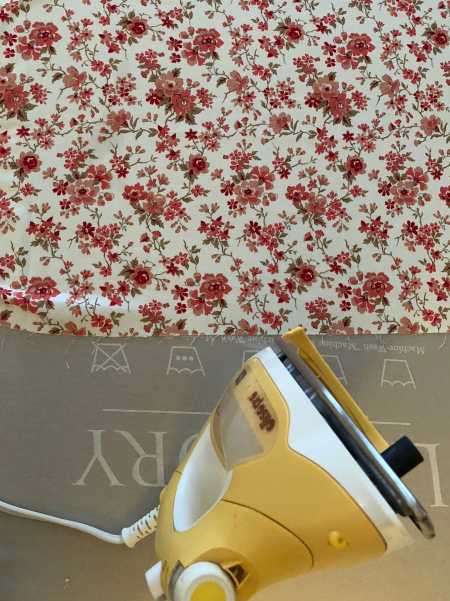
After you label your fabric pieces in the kit, set them aside. Starting with Fabric #1, pull it from the pile and press it. The best way to avoid mistakes in cutting your fabric for quilts is to begin with pressed fabric. Before cutting your fabric into pieces, square up all 4 sides on your cutting mat and then press again. You want all edges to be a perfect right angle.
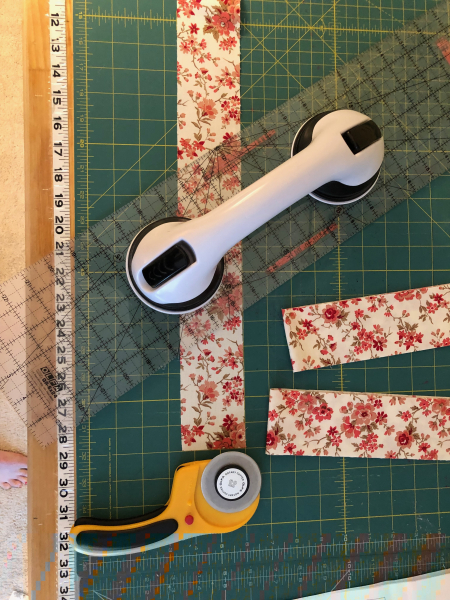
Following the instructions carefully, measure twice – cut once.
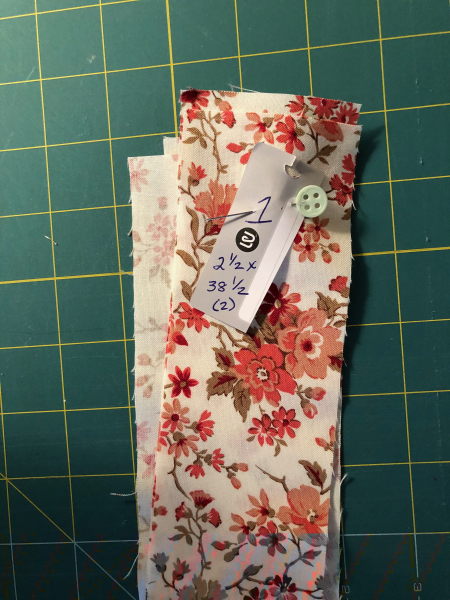
And … label each of the pieces accordingly and set aside.
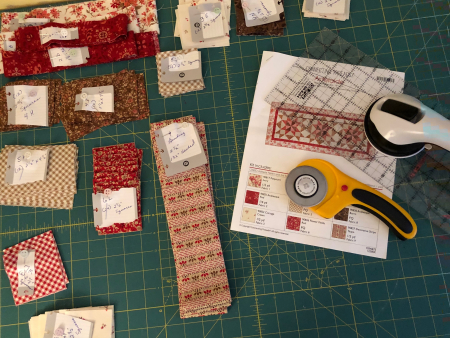
Press, square up the edges, measure twice, and cut once, for each of fabrics until they are all cut, labeled, and set aside.
And now the fun begins! Tomorrow I’ll be piecing the table runner top together! Personally, I think cutting out the pieces from the fabric is the hardest part. Any deviation from an exact measurement will throw off all the piecing. Think of it like a puzzle. You want all the points to be sharp and all the squares and triangles perfect. Measurements and cutting is so important! I can’t imagine how women did this before cutting mats and rotary cutters!
This project is courtesy of Kristin Gassaway of Thrilled to Pieces!
I hope you will order the kit! It’s on sale too! And then we can make this together!