

Never Slip your Rotary Ruler Again
Boring subject I know, but let me tell ya – when you quilt and cut fabric as much as I do, nothing can tick you off more than when the rotary ruler slips a little on the fabric while you’re cutting, and you end up messing up the cut having to start over and go through the entire slippage mess all over again. I know – I’ve had it happen a hundred times. Well, I decided enough was enough and I solved this problem for good.
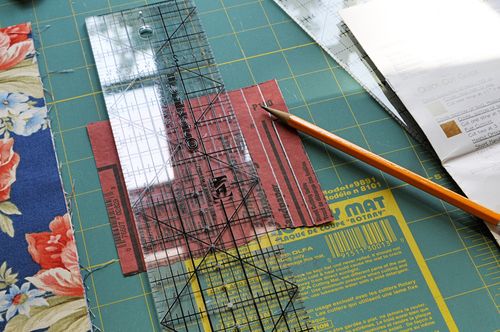
I shuffled out to my garage and found a piece of sandpaper. Then I looked in a dozen drawers to find a glue stick and a pencil. I was all set. Into the sewing room I went and I measured out 1/2″ by 3″ and marked the back of the sandpaper with a pencil. Then I cut them out. Don’t use your rotary cutter to cut out the sandpaper or you will dull the blade. Better to use scissors.
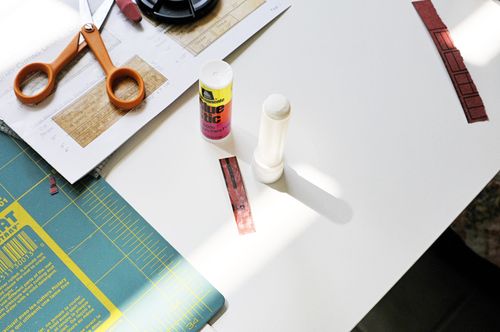
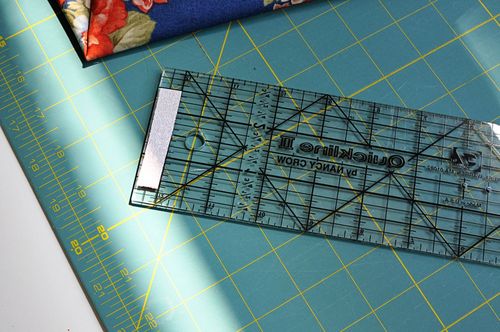
After I cut out the pieces, I turned them over and put glue on the back of the sandpaper, then placed them on the WRONG side of the rotary ruler. Notice that the lettering on the ruler is upside-down. When the ruler is upside-down, the lettering is backwards and so are the numbers. Place the strip of sandpaper to the WRONG side – see the picture below.
Let me tell you why always using your ruler with the WRONG side against your fabric is important. Because, if you place your ruler upside-down on your fabric (like the picture above) and use it to measure your fabric before you cut, your measurement will be off about 1/16″ to 1/8″. The reason for this is because the measurements are printed on the WRONG side of the ruler, and that is the side that should be up against your fabric. When you look through the transparent ruler, you should see the lettering and measurements correctly, not backwards. That is how you will know you are using the RIGHT side of the ruler to make your measurement before you cut.
When your ruler is upside down, your measurement changes by the angle you are looking at your fabric through the ruler. So, the next time you place your rotary ruler up against your fabric, make sure you are able to read the name and measurements correctly from the top, then you’ll know the ruler is WRONG side down (RIGHT side up), Just thought I’d throw in that important tip for all of you out there making bad cuts and wondering why your projects aren’t coming out right.
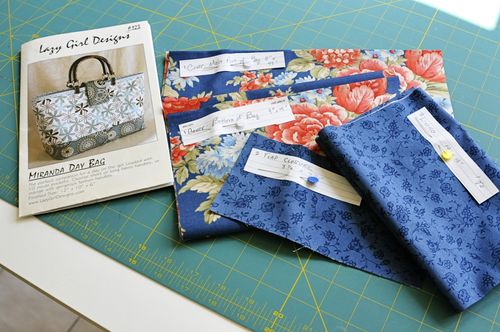
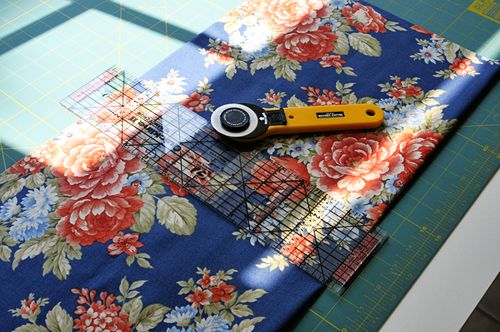
So, today I started to cut out the pieces for a handbag I am making for my mother and decided there must be a way to prevent my ruler from sliding every time I cut with the rotary cutter. That’s when I had the idea for the sandpaper strips on the back and sure enough they work like a charm. Oh, and here’s another tip – label your cut pattern pieces (what it is, the dimensions, and how many pieces you cut) on a piece of paper and pin it to the fabric piece. That way, you will know immediately what piece is what and it will save you from messing up. I have messed up a lot – until I got organized.
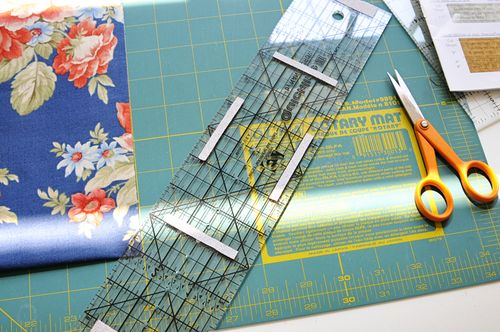
Glue the 1/2″ strips on the top and bottom of your rotary ruler, then cut four – 1/4″ strips and place them in the middle (North, South, East, West) of your ruler. Wait a few minutes and you are ready to cut. Mine didn’t slip at all and I was so pleased with myself I just had to share.
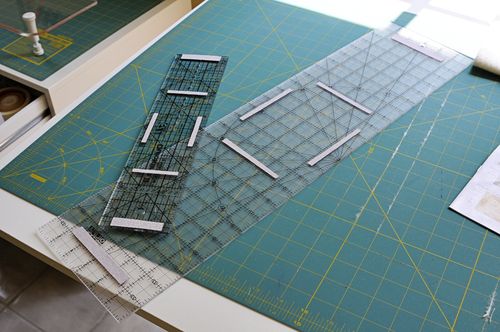
Then, I placed sandpaper strips on all of my rotary rulers – making it easy for me to know that the ruler is WRONG side down and up against my fabric correctly for perfect cutting too.
Happy cutting!
NOTE: Thank you to Quilting Digest for referencing my post here on their site! It was referenced in their post: “Make Rulers Non-Slip with this Quick Fix” I love it when others spread the Love
Comments (8)
Jen
March 11, 2012 at 12:34 pm
This is a great idea and I’m going to try it right now! Thank you for the advice!
Delana White
August 16, 2011 at 10:59 pm
confused…Is the white side(backing) of sandpaper the smoother part? I was thinking the brown rough side should be face down
Susan
August 16, 2011 at 11:56 pm
Hi Delana – The sandpaper that I purchased had a “brown” paper backing, and the sandpaper itself was a pinkish tone. The sandpaper is on a sheet, just a bit thicker than a piece of paper. I just cut out the size I needed and on the back of the sandpaper (the smooth paper backing), I used stick glue to glue it to the “back” of the ruler. Hope this helps – Susan
Tammy Lynn
May 19, 2010 at 8:16 pm
Thank you for this tip. I never would have thought to do this.
Margo
May 18, 2010 at 1:30 pm
Finally a tip I can relate to. I’ve pulled my hair out messing up cuts when quilting. thank you susan
Caroline M.
May 18, 2010 at 1:23 pm
What a great tip! I’m pulling out the sandpaper now.
Sharon
May 18, 2010 at 1:10 pm
Great tip Susan! You’re right, the rulers keep slipping and I keep messing up. I’ll bet I don’t mess up any more with your tip.
Sara
May 17, 2010 at 7:42 pm
Yea…done the slippin’ thing too – great tip Susan!