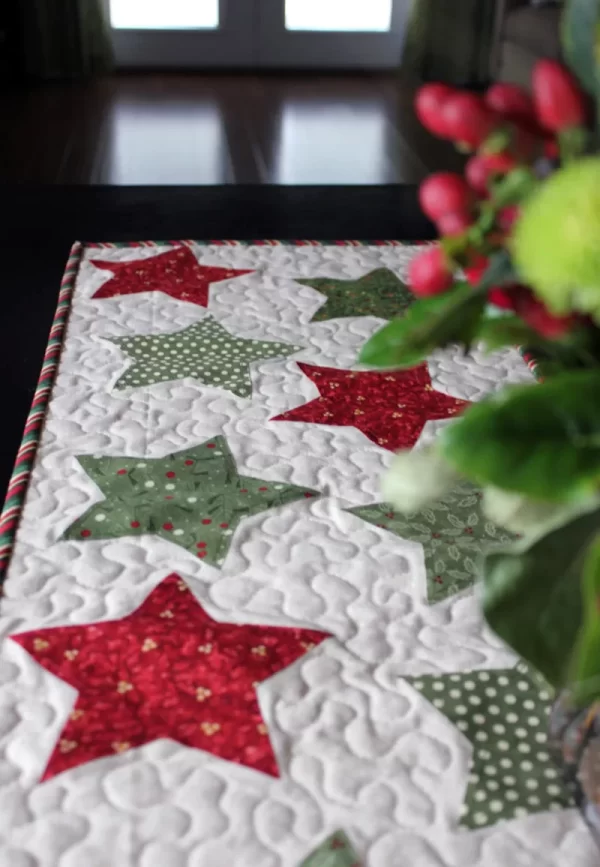
Easy Christmas DIY Table Runner
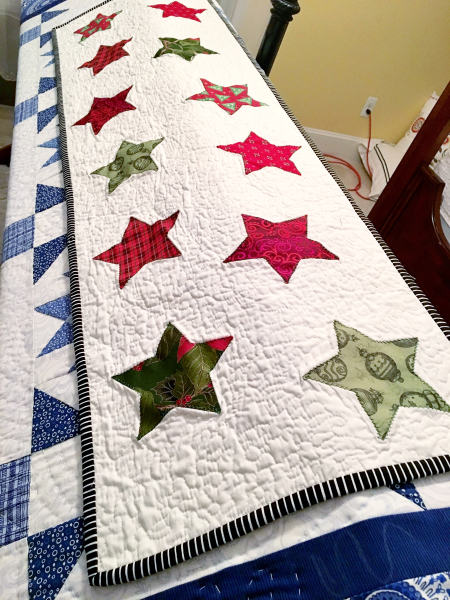
Table runners. They are easy and fast to whip out on your sewing machine, and make great gifts for family and friends! Fast and Easy – my kind of project with a big impact when the recipient opens their gift! What could be better! And I’m going to show you how to make this holiday table runner in this single post!
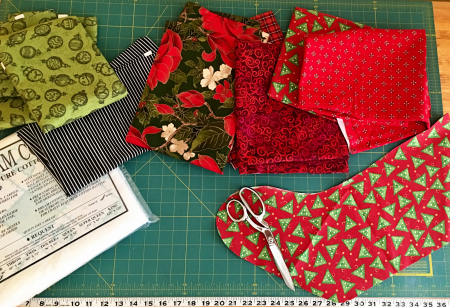
Stopping by my favorite quilt shop “The Quilt Patch” in Stallings, North Carolina, I grabbed me up a slew of interesting holiday fabrics, including a black and white striped fabric I thought would make a cool binder around the table runner. I got a half a yard of each of the fabrics I was going to use for the stars. I picked up a yard of the black and white striped fabric for the binding, which was more than enough, but I knew I was going to make more than one of these table runners as a gift. The green fabric will be used for the backing. I got a yard. More than enough for one table runner. Also, I picked up a small package of white cotton quilt batting.
Also purchase 1 yard of Pellon 725 Heavy-Duty Wonder-Under transfer web. You will use this on the back of the stars.
All set!
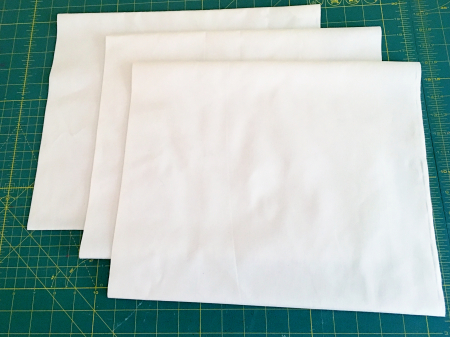
I had a bolt of white muslin 45″ cotton fabric at home. I cut 6 15″ x 50″ pieces for making 6 table runners for gifts. If you are just making 1, then you will need one 15 x 50 piece of white cotton. This will be the quilt top.
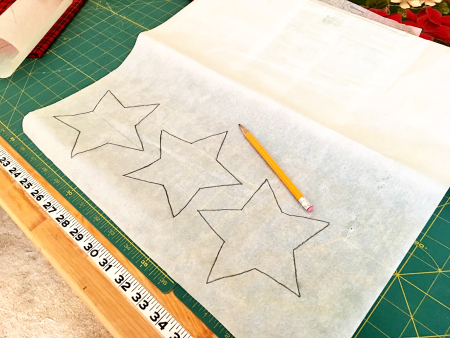
With your Wonder-Under, trace your stars on the paper side. I used 12 on my table runner top, but you can use more or less as you like. Also, you could draw several Christmas trees too and add them to your design. It’s up to you! Be creative!
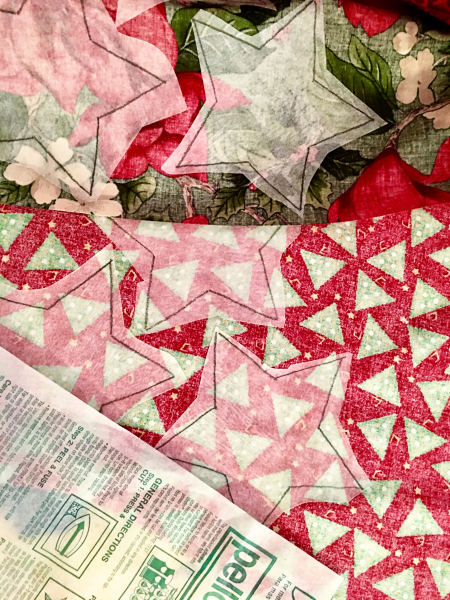
Cut out each star, leaving a gap around the traced outline. With the paper side up, press the stars onto the back of your fabric pieces. When they’ve cooled to the touch, cut them out neatly along your drawing
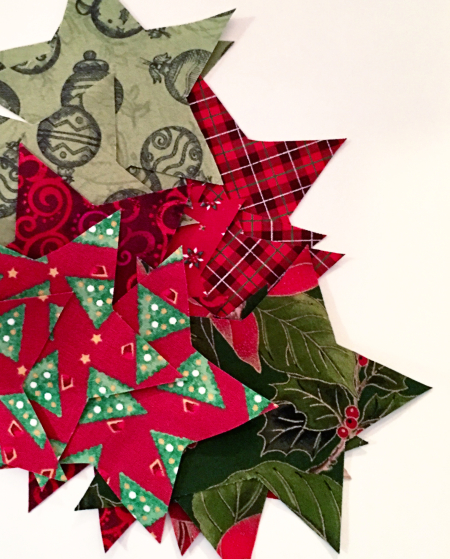
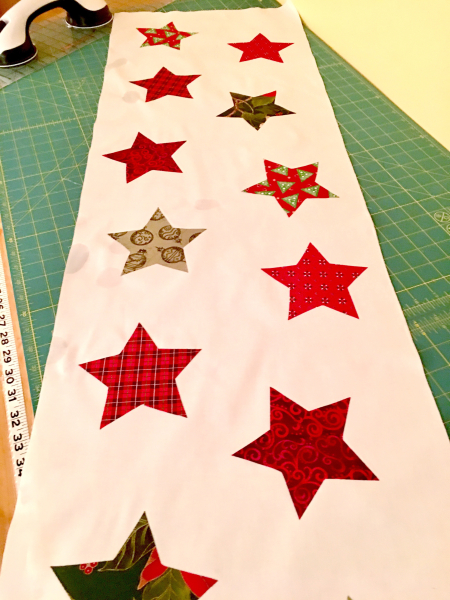
You’ll have lots of pretty stars to organize on your table runner top!
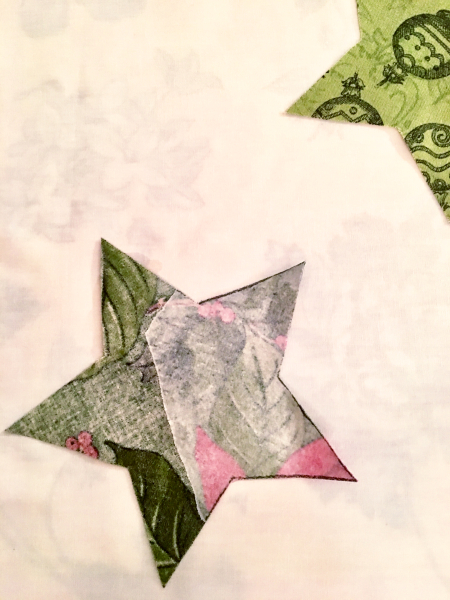
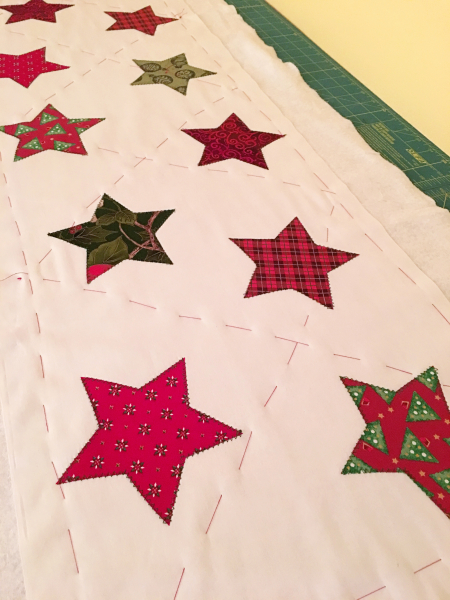
Peel the paper off the back of each star and arrange them onto your 15 x 50 white cotton fabric that will be your quilted table runner.
When you have them arranged just like you want them, press them in place. The spots you see on the fabric in this image are water spots from my leaky iron. But now all the stars are affixed to the white cotton fabric rather nicely.
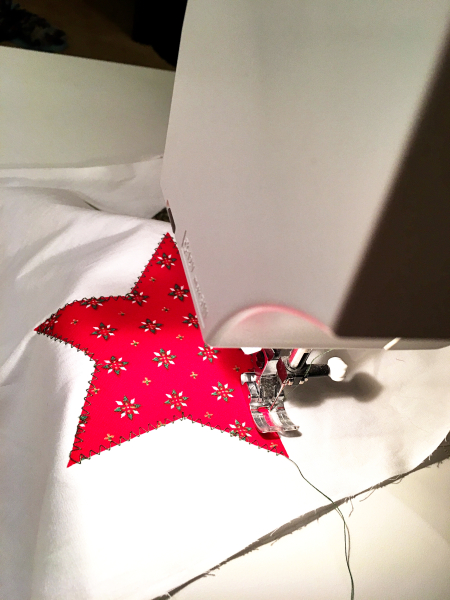
Next step, using a zig-zag stitch, or decorative stitch if you prefer, stitch around the perimeter of each star. This will help in preventing fraying when washed.
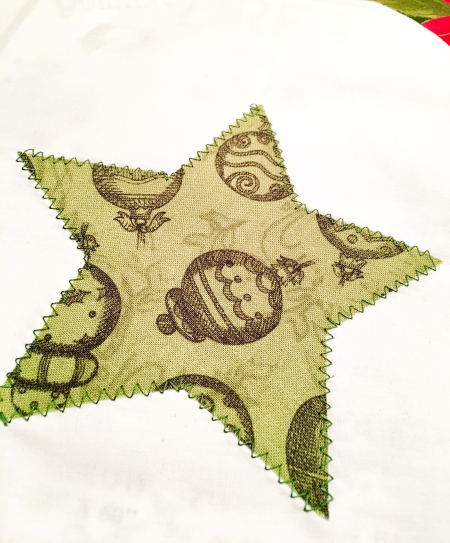
And it looks nice too! No stabilizer was needed to stitch around the stars.
Your quilt top table runner is done! Now to finish your project …

On your cutting table, place your backing fabric, face down, and your batting on top of the backing fabric. Then, place your table runner top on top of the backing and batting. Trim the backing and batting to about 2″ additional all the way around the table runner top.
Baste your table runner top to the batting and backing using a contrasting thread and nice big stitches. This holds all the layers together when you are quilting on your machine or hand quilting. I prefer this to safety pins. It lays flatter and prevents the layers of the quilt from shifting. It only takes a few minutes to baste your quilt together and it’s worth the extra effort.
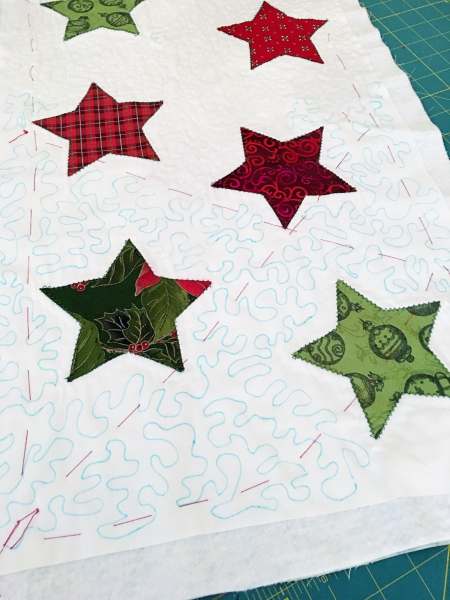
Now that you have all three layers basted together, using a “Fine Line Mark-B-Gone” water soluble ink pen, draw your quilting design onto your quilt. Now, I know a lot of quilters like to just randomly place their quilt in the machine and wing it when it comes to stipple quilting. Not me. I’ve done it. If you knew how many times I got stuck somewhere I didn’t belong, you’d understand. So, I draw it on the quilt in sections. It isn’t even one big “stipple” design. There are lots of designs that start and finish in the same spot, it just looks complicated. But boy is it a lot easier to machine quilt when the design is already on the fabric!!
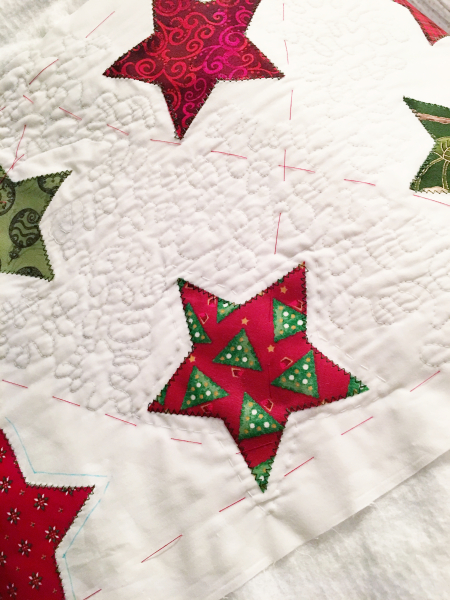
Here’s a tip: wear quilting gloves when machine quilting. It’s a lot easier to move the layers around the design on your fabric. And when you are done quilting your design on the layers of your quilt, spray some water on it and wipe it off with a wash cloth or rag. The ink disappears and your left with nothing but your beautiful quilt pattern. You might also notice that I hand quilted around each star. That was a personal preference.
You will be amazed at how fast all the quilting went! Now on to the binding. BUT, first, trim your quilt so that you have perfect right angles. After trimming, my quilted table runner measured about 14″ x 48″
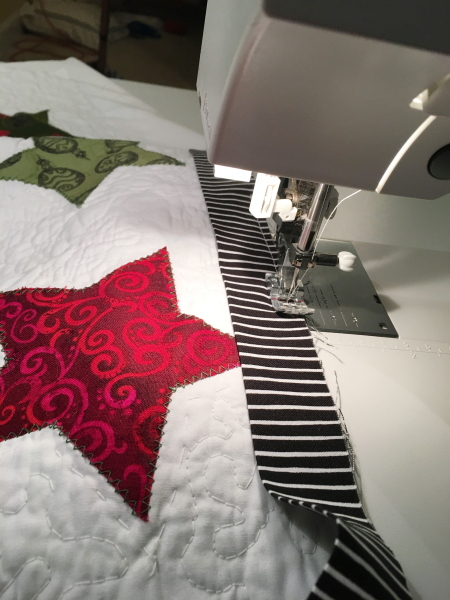
Now for the binding. I use 2 1/2″ strips, and I’m not even going to begin to tell you how to do the binding! I’m going to leave that up to Jenny Doan with the Missouri Star Quilt Company. Best video tutorial you’ll ever find on adding the perfect binding to your quilt.

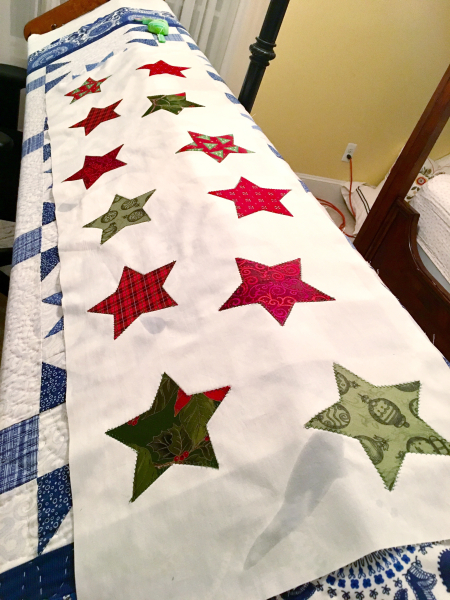
And it’s done! The corners of the binding are perfect, the quilting is pretty cool, and, well, if I may say so myself …

I think it looks pretty awesome lying on top of the quilt I am still hand quilting for my mother as a Christmas gift. Now to make 5 more of these table runners!!
Hoping you have a creative holiday season!!
Thank you to Andy Knowlton of https://www.abrightcorner.com for the great table runner idea! Andy can provide the star template and instructions for you. Andy’s instructions are for a 12″ x 40″ table runner, whereas I made adjustments for a 15″ x 50″ table runner. You can purchase the complete pattern and template for the star HERE