
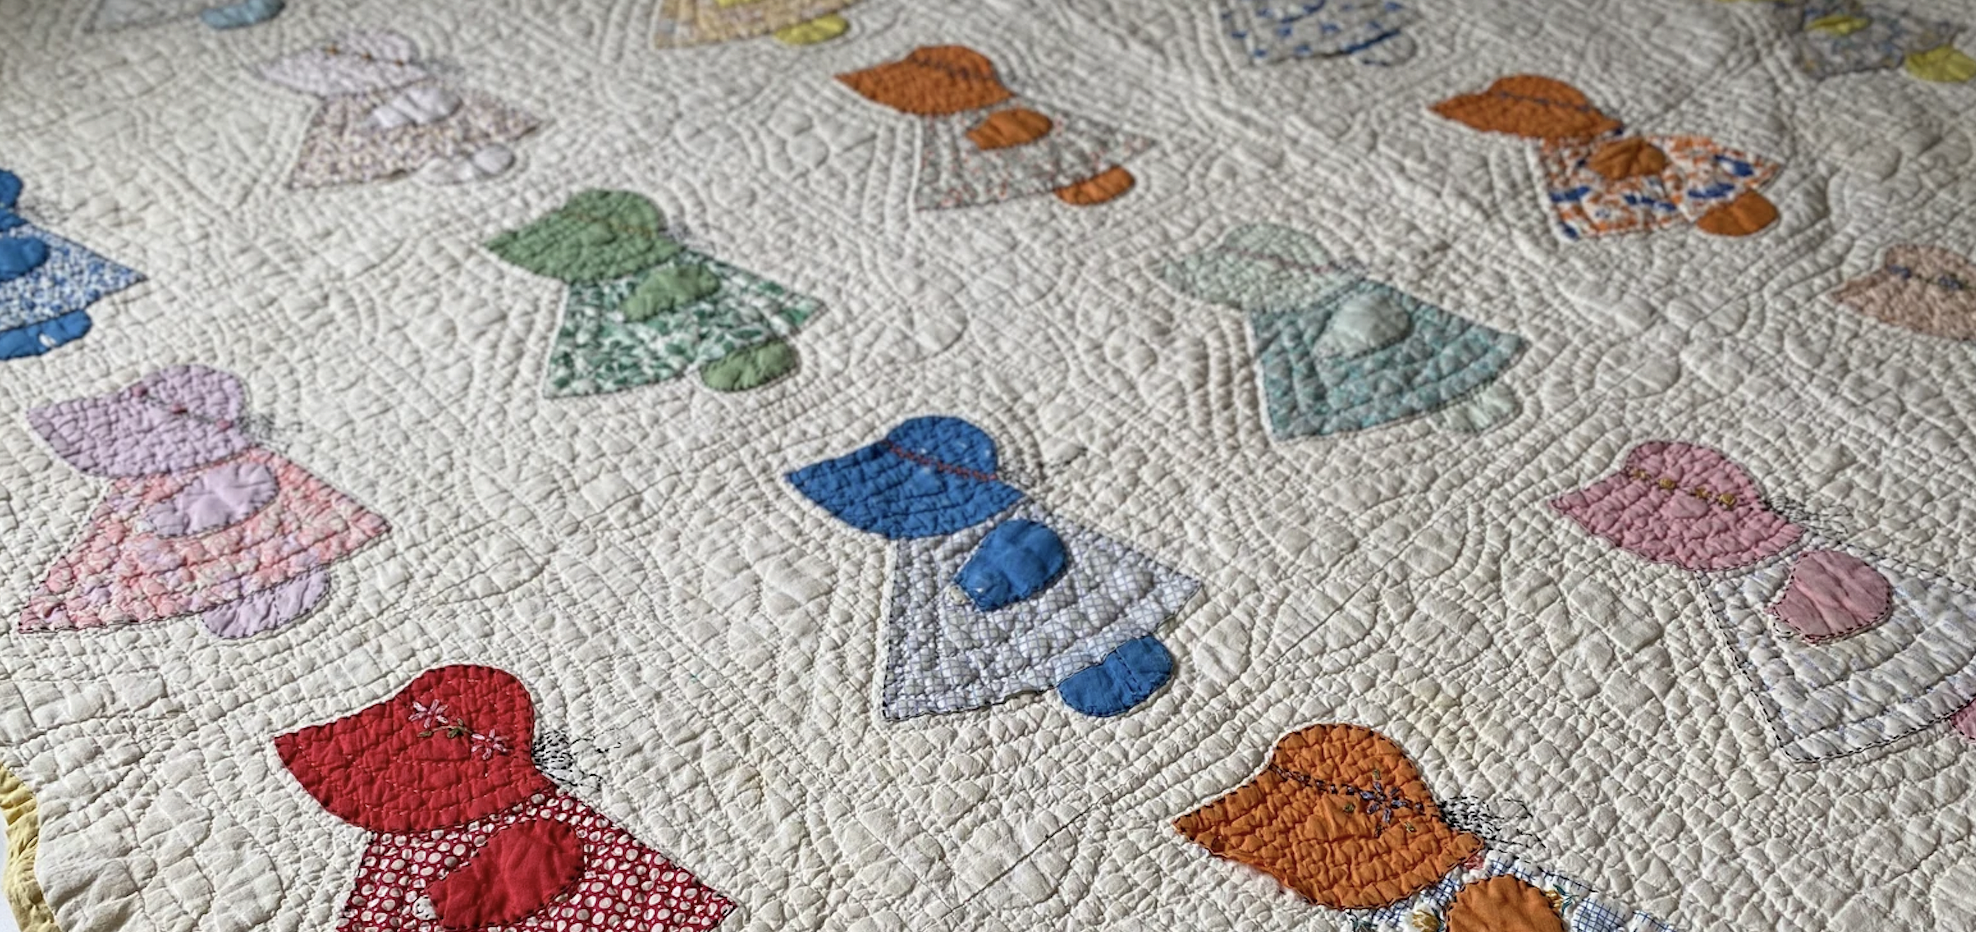
Sunbonnet Sarah Quilt
Unfinished. Stashed in a box. Story of my life as a quilter and artist. I’m notorious for starting projects, but as long as I have interruptions, these projects will not see through to completion, sadly. I have gotten better in my older age, and that is why I am anxious to revisit this adorable quilt I started in 2007. Yes, you heard me right. – 2007.
It’s been years in the making. Why I have so many unfinished projects I have no idea, but I really need to focus on finishing the projects I’ve already started over the years and never finished. I am always getting sidetracked – finding something else to do. Maybe I have A-D-D Which ADDs up to lots of unfinished projects stuffed in a drawer. Well, today I made a choice to “try” (being the operative word here) to finish a quilt that I started years ago. So many years ago, in fact, that I don’t even know how many years ago it’s been, but I’m thinking for this quilt it was somewhere around 2007.
The last time I saw these quilt blocks, I had pulled them out of a box and took them into my cold sunroom that I had set up, at the time, as my sewing studio in our Weddington home. I pulled up my britches and buckled down in front of the sewing machine. I did get a few more completed, but again, why I stopped I have no idea.
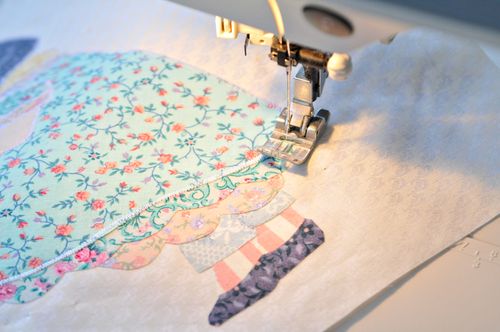
I tested my satin stitch on a scrap piece of fabric. I can’t sew without having my seam ripper handy. I use it a lot. And, I didn’t want to make any mistakes on these custom Sunbonnet Sarah Quilt blocks I created.
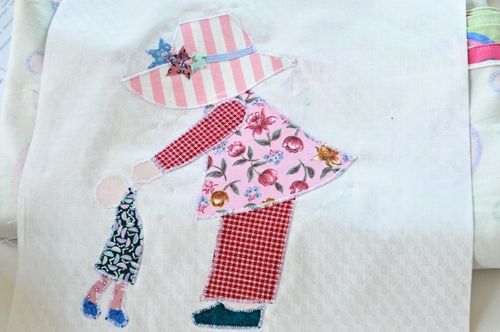
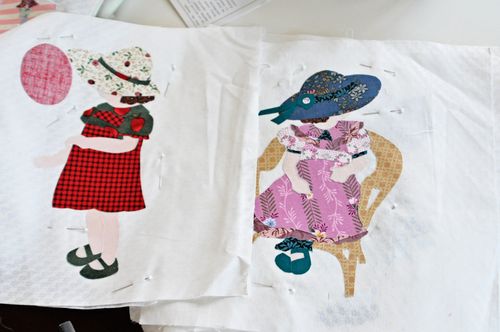
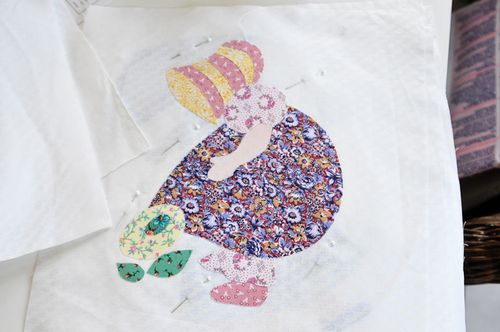
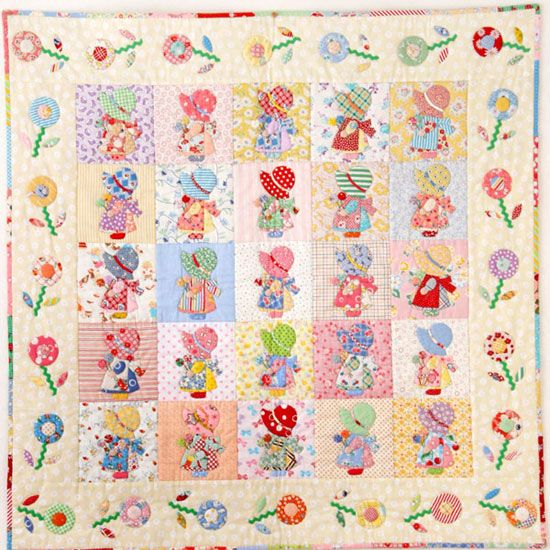
As for this quilt, I started by making applique quilt blocks from the traditional Sunbonnet Sue pattern. But then I had an idea – to take pictures of Sarah, as a small toddler, and make appliques of her from those pictures, only with a sunbonnet on her head; and so, this is what I did to create these custom quilt blocks.
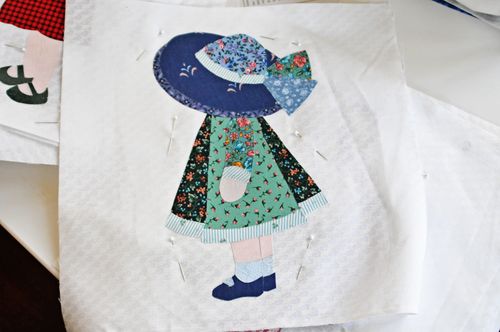
It was difficult to figure out at first. I would print off a copy of Sarah’s photo so that it was the correct size to fit on the quilt block, then I would place a piece of tracing paper on top of Sarah’s printed image and trace it with a pencil. Then I would photocopy that traced image with numbers in the individual parts that meet and make up “one” small piece of the puzzle. Then I would place the tracing paper right side down on top of “WonderUnder” which is a paper with glue on one side that can be ironed onto the back of fabric and then pressed into place on your quilt. This is how one makes an applique quilt.
This is also where you can give yourself a headache if you aren’t careful – making sure the tracing paper pattern is placed on the “WonderUnder” upside down so that when you iron it onto the back of your fabric and cut it out, it isn’t backwards. I think this must have been why I have stopped making this quilt on multiple occasions. I could be heard cussing from my sewing room. Not good.
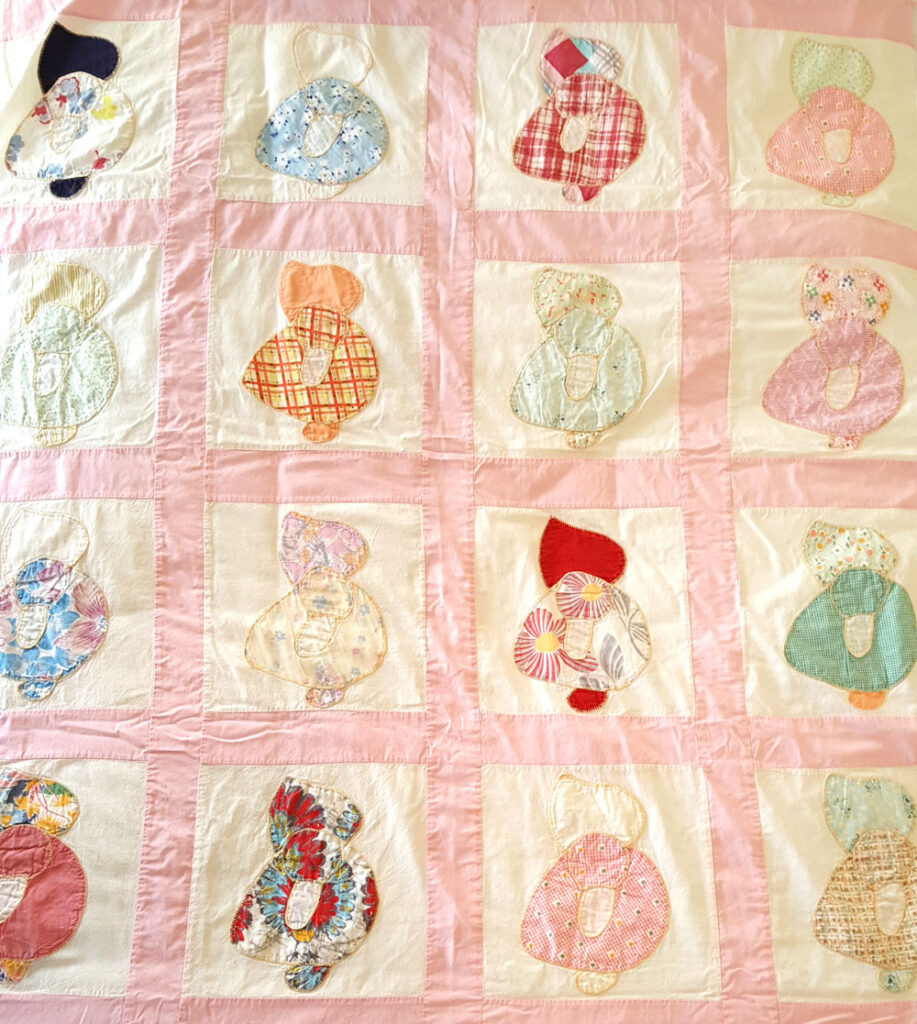
Needless to say, and as you can see, I have completed the applique process quite a few of these blocks. After all these blocks are done, I then use a satin stitch on my sewing machine to sew around every little piece, which requires changing thread and bobbin a lot too for color matches. As you can see, it is a long and … long … process. And as soon as I find the photos that I used to create these blocks, I will post them here.
Do you have unfinished projects that you need to revisit? If so, tell me about them! I don’t want to feel alone in my shortcomings.

Comments (2)
Julie Ronald
December 9, 2023 at 6:46 am
I am embarking on a journey of making quilts that I inherited from my now deceased mother-in-law. One is the Sunbonnet Sue (30 blocks), one Calico Cat (18 blocks) and one with puppies (19 blocks). The problem is I have never made a quilt in my 67 years. Wish me luck!
Susan
December 17, 2023 at 5:30 pm
Oh my! What a great project you have ahead of you, Julie! The quilts you have from your mother-in-law … are they quilt tops only? In other words, they do not have the batting or backing fabric put together with the top as of yet? What you may want to do, if they are completed quilt tops, but still need the batting and backing and quilting, is take them to a quilt shop with a longarm quilting machine. You can purchase the batting and backing fabric that is needed, and they will do everything for you, including the binding after the quilting of all three layers is complete. I would check with your local quilt shops. If they do not have a longarm quilting service at their shop, I am certain they will have a long list of longarm quilters in the area who can help. I’ve sent out my larger quilts many times for the quilting of the layers, after I have made the quilt top. Then, when I get the quilt back, I, myself, have completed the binding. I hope this helps! I’d love to see your projects, and I hope you will post photos here when they are done. Wishing you and your family a Merry Christmas, and thank you for your comment and sharing!