How to Create a Storyboard in Photoshop

Photoshop hasn’t really changed much over the years. I originally posted this on my Raisin Toast “TypePad” blog in 2009 while using Photoshop CS4. That software is nonexistent now, but storyboards aren’t! Now, like everything else, Photoshop is a subscription based application through Adobe. I currently have the 2022 version on my MacBook.

While going through old posts on my original blog on TypePad, I came across some interesting photography and Photoshop posts that I wrote in 2009, this being one of them. I thought some of you may enjoy making storyboard images for your websites, blogs, or social media, and I am about to show you how I did it way back then, and it still holds true today.

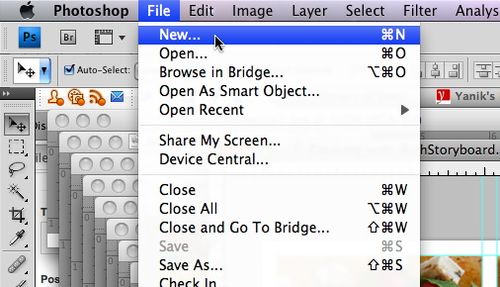
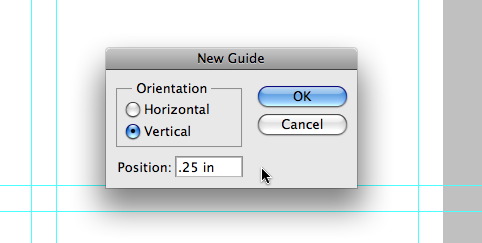
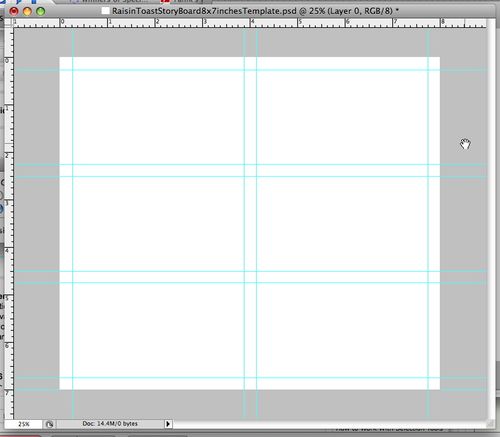
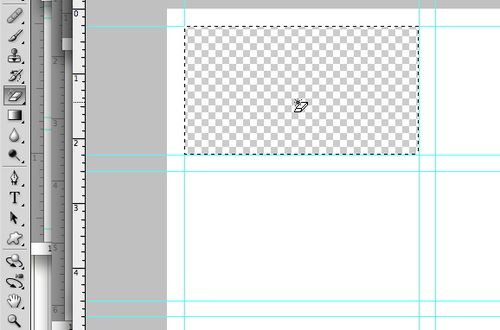
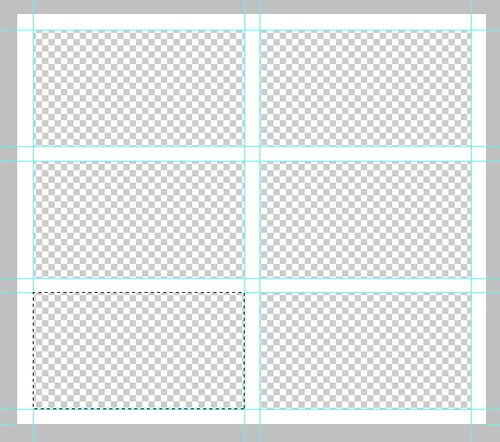
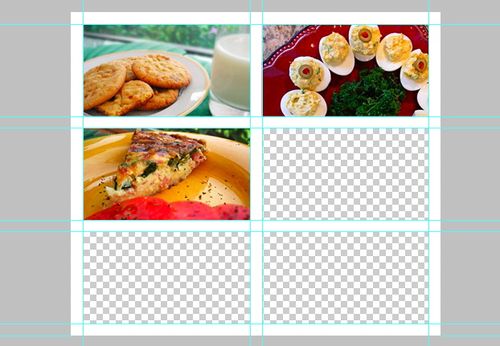
Storyboards are essentially created using multiple images, a blank canvas in Photoshop, and drag-and-drop guides onto that blank canvas that will separate the blocks within the storyboard.

Storyboards can be great for displaying your images, especially images that go together – pictures of family, pictures of flowers, or a graduation storyboard that parents like to create for their children who are graduating from high school or college and you see the storyboard showing their child’s life from being a baby to 18y/o. The divider between the images gives them a feeling of having a matting around them too.  Your storyboards can be any color – Personally, though, I like white.  And you can add designs and other things to them too – like text. 

For now, though, I am going to show you how to do the easy part.  Then you can play with your designs and get as fancy as you like.

Step 1.  File – New. Open up a new File. 
Step 2.  Name – Width – Height – Resolution – Background Color.  Choose the size of your storyboard, (preferably in inches) choose your background color (I like white), and give it a name.  Click “OK”


StoryboardStep3Rulers
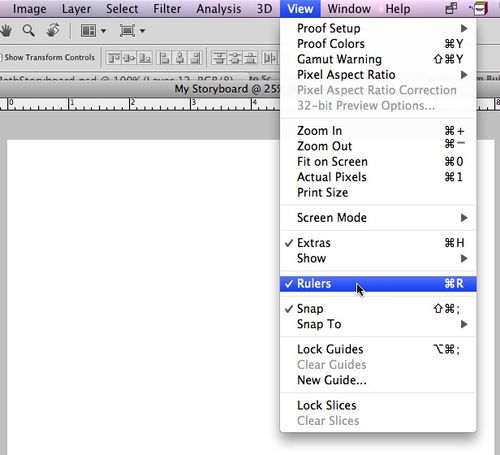
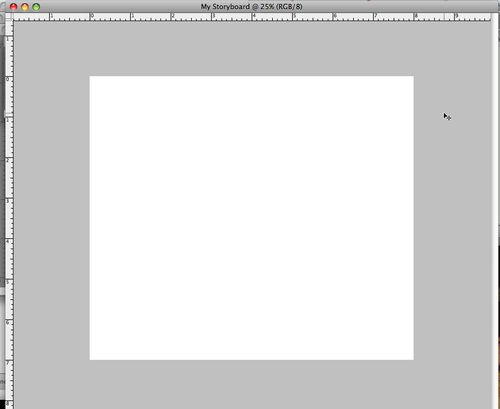
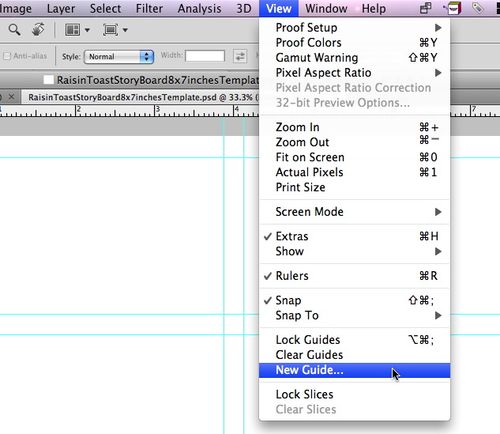
Step 3. View – Rulers.  Your new file will open up in Photoshop.  So that you can easily design your storyboard, you will want to have your rulers visible (in inches preferably.  It is just easier that way). 
Step 4. Right Click Ruler – Inches. When your new file is visible with the ruler, right-click on your ruler and highlight “inches.”
Step 5. Blank Storyboard.  You’ll have a nice clean slate to work with.
Step 6. View – New Guide.  Click on “View” and “New Guide.”
Step 7.  Horizontal / Vertical – Position. The “New Guide” window will pop up and you need to choose either Horizontal or Vertical and where you want to place your blue line.  These guides will pop up as blue lines on your blank canvas.  Don’t worry if you don’t like where you put the line.  As a matter of fact, you can just leave the position at 0 and click “OK” and then use your “Move Tool” to move the line where you want it on your blank canvas.
Step 8. Repeat Steps 6 and 7.  Repeat Steps 6-7 until you have placed your horizontal and vertical lines where you want them to create your storyboard.  As you can see from the storyboard that I am creating here, I am going to display 6 images on my storyboard in a landscape format.


StoryboardRectangularToolSelect
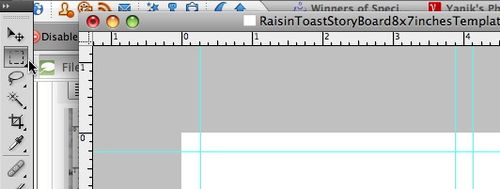
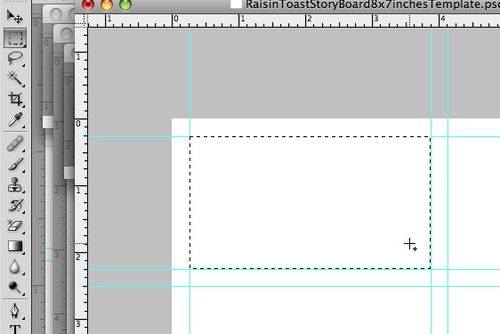
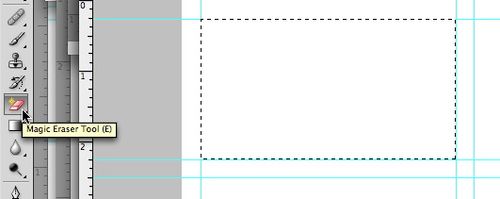
Step 9. Rectangular Marquee Tool.  Now, Click on the Rectangular Marquee Tool and choose the first space where you will be placing your images.
Step 10.  Magic Eraser Tool.  Click on the Magic Eraser Tool.  Right click the area within the highlighted area from Step 9.  Click again and everything should disappear in that space.  This is the space where I will place my first image.
Step 11. Repeat Steps 9 and 10.  Repeat these steps until you have erased the spaces where you want to place your images.  Lookin’ Good!  I’m so happy with my storyboard and I can’t wait to insert my images.  But first, I want to save this blank storyboard as a .psd file.  So go ahead and do that so that you have a completed template you can use time and time again.  We’re almost done!

Step 12.  Add your Images!  This is the best part!  Open your images in Photoshop that you want to add to your storyboard.  Resize them to fit or sorta fit in the spaces you’ve created.  It doesn’t have to be perfect, just as long as the images fill the spaces.  You might want to crop and then resize your images.  That’s what I do.
Note: When you are placing your images in your storyboard, make sure that the image layer is beneath the storyboard layer.

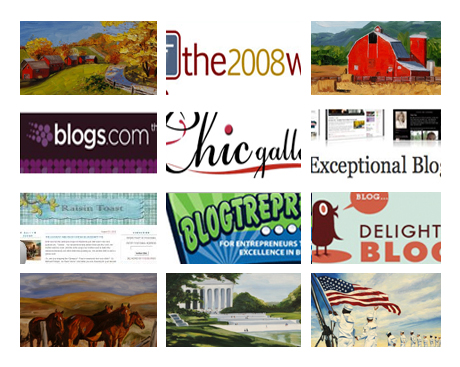
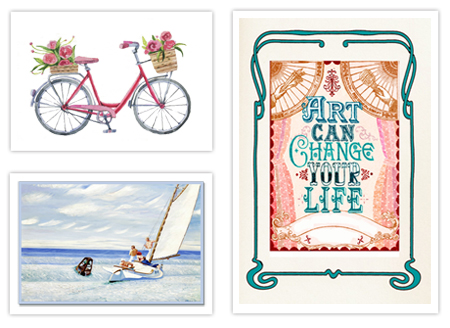
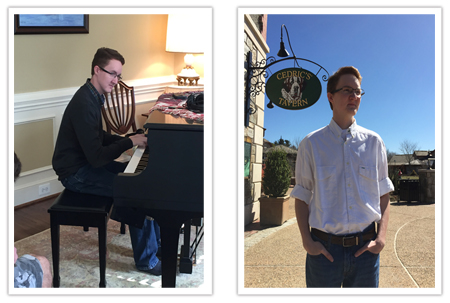
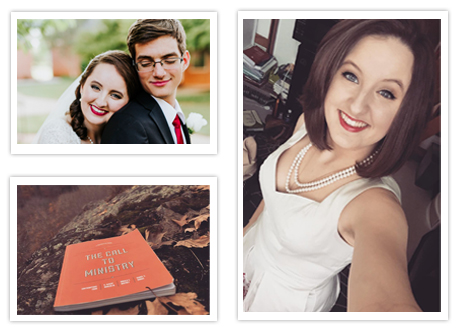
Here are just a few more Storyboards I have created over the years for my blog:

Enjoy what you have created!  It’s fun! 
Oh, be sure to save your completed storyboard as a .jpg or .png file. That will flatten the image.
Enjoy creating some storyboards of your own!

I hope you enjoyed this tutorial, and if you have any comments or questions, you can post them in the comments below!


IT'S NICE TO SHARE WITH FRIENDS!

Leave a comment

Your email address will not be published. Required fields are marked *

Prev Post

The Lion and the Lamb - Scripture to Sculpture

Next Post

Zip-A-Dee-Doo-Dah